 Blaine Siding
 Building New in Cherry Point Means Getting the Windows Right the First Time
Cherry Point sits close enough to the water that every new home built here has to answer to the same set of conditions: salt-laden air blowing in off the Strait, long stretches of driving rain, and a moss season that seems to run most of the year. When you're building new, the windows aren't a repair item you can fix later without tearing into finished walls — they're part of the shell. Get the flashing, the drainage plane, and the fastening wrong at rough-in, and the problem doesn't show up until years later, buried behind siding and drywall.
That's the case for treating new-construction window installation as its own trade, not a smaller version of window replacement. The window itself matters, but in new construction the bigger factor is how it's integrated into the building envelope before anything else closes it in.
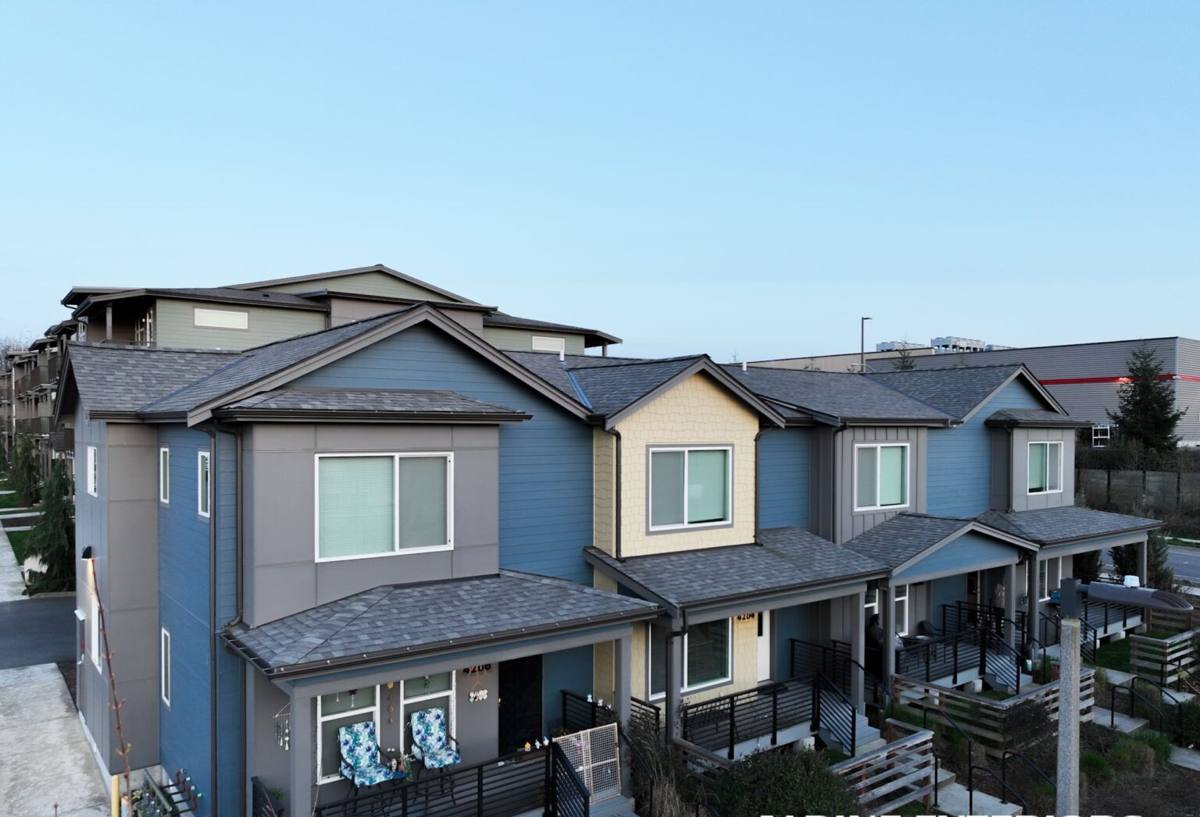
New-Construction Windows vs. Replacement Windows
These are two different products installed two different ways, and mixing them up on a new build causes real problems.
- New-construction windows have a nailing flange (fin) around the perimeter that gets fastened directly to the wall sheathing and integrated with the house wrap or weather-resistive barrier before siding goes on. This is the standard approach for a home being framed from scratch.
- Replacement (pocket) windows are built to fit inside an existing frame with no nailing fin exposed, relying on the old frame and trim for structure. They're the right tool for a remodel, not for a new shell.
Using a pocket-style window on a new build (or the reverse) either wastes the chance to build a proper drainage plane from scratch, or forces awkward trim work that never looks quite right. On a new home, we always spec and install to the nailing-fin method so the window becomes part of a continuous, engineered water-management system rather than a patch.
What Cherry Point's Climate Asks of a New Window Install
Salt Air and Corrosion
Being this close to saltwater accelerates corrosion on anything metal that isn't rated for it — fasteners, flashing tape edges, hardware, and lesser window frame components all age faster here than they would twenty miles inland. We spec corrosion-resistant fasteners and flashing products for every install this close to the shoreline, because the failure mode with salt air isn't dramatic — it's slow pitting and staining that eventually compromises a seal nobody's watching.
Driving Rain and Water Management
Whatcom County storms don't just fall straight down; wind off the water drives rain sideways into wall assemblies, which is exactly the condition that exposes a poorly flashed rough opening. A window that's watertight in a light, calm rain can still leak under wind-driven rain if the sill pan, head flashing, and side flashing aren't lapped in the correct shingle-style order. This is the single biggest factor we design around for any Cherry Point build.
The Long Moss Season
Moss and algae thrive in the shade and moisture that coastal Whatcom County holds onto for much of the year. On windows, that means sills, trim, and the base of the rough opening need drainage paths that actually let water out rather than pooling and staying damp long enough for growth to take hold. A window that drains poorly becomes a moss magnet by its second winter, which is as much a maintenance headache as it is a moisture risk.
What a Correct New-Construction Window Installation Involves
Flashing and Weather-Resistive Barrier Integration
Every opening gets flashed in a specific sequence — sill first, then sides, then head — so that each layer overlaps the one below it and directs water outward and down, never behind the barrier. The window's nailing fin then integrates into that sequence and into the house wrap itself, so the whole assembly sheds water as one system instead of relying on caulk at the trim to do all the work.
Sill Pans and Drainage Planes
A sill pan under the window creates a backstop and a drainage path for any water that does get past the glass or frame seal — which happens more often than most people think, even with a well-built window. Combined with a continuous drainage plane behind the siding, this gives incidental moisture somewhere to go instead of somewhere to sit.
Fastening, Shimming, and Air Sealing
Windows need to be shimmed plumb, level, and square before they're fastened — an out-of-square window stresses the frame, binds hardware, and can crack seals over time. After fastening, the gap between the window frame and rough opening gets air-sealed with a compatible low-expansion product, not just packed with whatever's on the truck. Incompatible foam or caulk can bow a frame or fail to bond to certain flashing tapes.
Choosing Frame Materials for a Site Like This
Frame material matters more here than in a dry inland climate, because it has to hold up to sustained moisture exposure and salt air, not just look good on install day.
| Frame Material | Coastal Durability | Maintenance | Typical Fit |
|---|---|---|---|
| Vinyl | Good — won't rust or rot, some UV wear over decades | Low — occasional cleaning | Most cost-conscious new builds |
| Fiberglass | Very good — stable in moisture and temperature swings | Low | Homes wanting a stronger frame with a paintable finish |
| Wood-clad | Depends entirely on the cladding and installation quality | Higher — interior wood still needs upkeep | Homes prioritizing an interior wood look |
| Aluminum | Prone to corrosion this close to salt air unless specifically coated | Moderate to high | Rarely our recommendation for this location |
We don't push one manufacturer over another — the right call depends on your budget, the home's design, and how much long-term maintenance you want to take on. What we do insist on is a frame material and finish that's suited to a saltwater-adjacent site, because a window that's a poor fit for this climate will show it within a few winters.
Our Process on New Builds
- Plan review: We look at the window schedule and rough opening sizes against the actual framing before install day, so sizing issues get caught early rather than on-site.
- Coordination with your builder or GC: Window install has to land at the right point in the build sequence — after sheathing and house wrap, before siding. We work on your framer's or builder's timeline, not around it.
- Flashing and install: Sill pan, flashing sequence, shimming, fastening, and air sealing, done to the sequence above on every opening — not just the ones easiest to reach.
- Walkthrough: Before we leave the site, we walk the openings with whoever's overseeing the build so everyone can see the flashing details before siding covers them up for good.
That last step matters more than it sounds. Once siding goes on, the flashing work is invisible — the walkthrough is the last chance anyone gets to verify it before it's buried for the life of the house.
What New-Construction Windows Typically Cost
Costs vary a lot by window count, size, and frame material, so treat this as a general guide to what drives the number rather than a quote.
| Cost Factor | Why It Moves the Price |
|---|---|
| Number and size of openings | More and larger openings mean more material and labor hours |
| Frame material | Vinyl is typically the most budget-friendly; fiberglass and wood-clad cost more upfront |
| Glass package | Higher-performance glazing for energy code compliance adds cost but lowers long-term heating bills |
| Site access and build stage | Coordinating install timing with framing and siding crews affects scheduling but not usually unit cost |
| Custom shapes or sizes | Non-standard openings require special-order units, which cost more and take longer to arrive |
We're glad to walk through actual numbers once we know your plans and window schedule — broad ranges without seeing the specifics of your build tend to be more misleading than useful.
Checklist: What to Confirm Before Your Windows Go In
- Rough openings match the window schedule and manufacturer specs, with room for shimming
- House wrap or weather-resistive barrier is installed and lapped correctly before window install begins
- Sill pan flashing is planned for every opening, not just ground-floor or high-exposure walls
- Frame material and glazing package are appropriate for a saltwater-adjacent, high-moisture site
- Fastener and flashing tape products are rated for long-term exposure to salt air
- Someone will walk and photograph the flashing details before siding covers them
- Energy code glazing requirements (U-factor and solar heat gain) are confirmed for your specific project
Why a Crew That Already Works Cherry Point Matters
A window contractor who mostly works drier, more sheltered parts of the county can still install a window competently and still get water-managed details wrong for this specific site — not from lack of skill, but from not building for this exposure day in and day out. Working Cherry Point and the Blaine area regularly means we're used to sequencing flashing for wind-driven rain, choosing fasteners that won't corrode in a few seasons, and detailing drainage so moss doesn't take hold at the sill. It also means we're familiar with how local building inspectors want to see these details documented and are used to coordinating around the pace of builders working this stretch of Whatcom County.
None of that is exotic knowledge — it's just the difference between installing to a general standard and installing for the conditions actually on site.
If you're framing a new home in Cherry Point and want windows installed to hold up to what this stretch of coastline throws at them, we're happy to take a look at your plans and talk through the details. Use the form below to request a free, no-pressure estimate.