 Blaine Siding
 New-Construction Windows for Blaine Harbor Homes
Building or fully re-siding a home near Blaine Harbor puts a window installation to the test that most inland projects never face. The combination of salt-laden air off the water, wind-driven rain that hits walls sideways during winter storms, and a moss season that keeps exterior surfaces damp for months at a stretch means the window opening itself has to be built correctly, not just filled with a good product. New-construction windows give you the chance to get that opening right from the studs out — but only if the flashing, sealing, and frame choices are matched to what this stretch of Whatcom County coastline actually does to a house.
This page covers what a correct new-construction window installation looks like specifically for Blaine Harbor properties: the water-management details that matter most in a marine climate, the frame materials that hold up, and why a crew that already works this area brings something a general contractor from out of town usually doesn't.
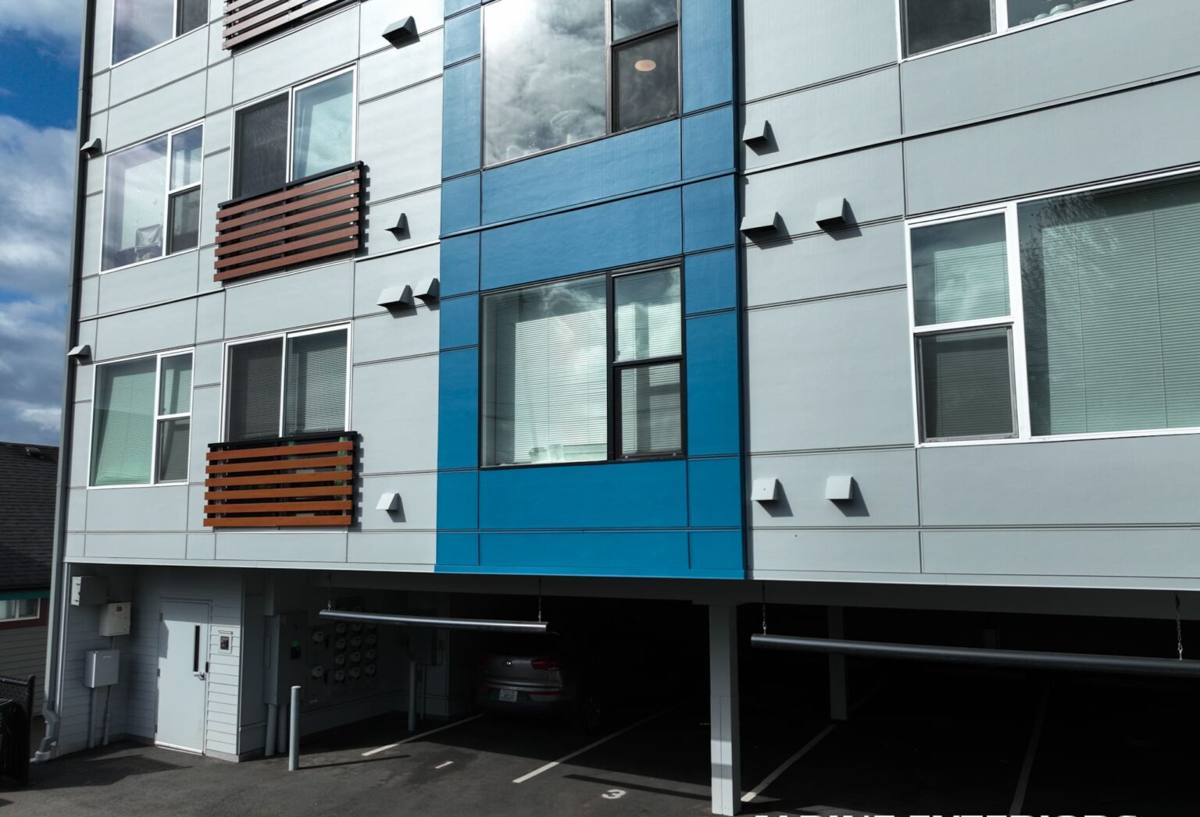
New-Construction vs. Replacement Windows: Why the Distinction Matters
"New-construction window" is a specific term in the trade, not just a marketing phrase. It refers to a window with a nailing fin around the perimeter of the frame, designed to be installed into a rough opening before the wall is fully finished, then integrated with the water-resistive barrier (WRB) and siding as part of the wall assembly. A "replacement" or "pocket" window, by contrast, is built to slide into an existing frame with the old sashes removed, leaving the original nailing fin or flange in place from years ago.
For a Blaine Harbor build, new construction is usually the right call whenever you're framing new walls, doing an addition, or stripping a wall down to the studs for a full siding replacement. It's the only method that lets us build the flashing sequence from scratch, which is exactly what a driving-rain climate needs.
| Factor | New-Construction Window | Replacement/Pocket Window |
|---|---|---|
| Best used when | Framing is open or being re-sided down to sheathing | Existing frame and siding stay in place |
| Flashing control | Full control — sill pan, fin, WRB integration built fresh | Limited to what the existing opening allows |
| Glass area | Same as rough opening — no loss of daylight | Slightly smaller due to insertion frame |
| Ideal for salt-air / driving rain exposure | Yes — best long-term water management | Workable, but relies on old flashing underneath |
| Labor and disruption | More involved — interior/exterior wall work | Faster, less invasive |
What Blaine Harbor's Climate Actually Demands
Salt Air and Metal Fatigue
Properties close to the water deal with airborne salt that settles on every exterior surface, including window hardware, fasteners, and metal flashing. Over years, unprotected or mismatched metals corrode faster here than they would ten miles inland. That's why fastener and flashing material choice isn't a minor detail on a Blaine Harbor job — it's part of what determines whether the window opening is still sound in fifteen years.
Driving Rain, Not Just Rainfall
Whatcom County gets plenty of straight-down rain, but the harbor-facing exposure also brings wind-driven rain that hits walls at an angle and pushes water up and under trim, not just down the face of the siding. A window installation built for that has to assume water will reach the nailing fin and the rough opening at some point — the whole point of correct flashing is managing that water once it gets there, not pretending it won't.
Moss Season and Prolonged Dampness
The long stretch of wet, low-sun months that grows moss on roofs and north-facing walls also keeps window sills and trim damp for extended periods. Wood components that stay wet without a chance to dry are where rot starts. That reality shapes both the frame material recommendation and the drainage detailing around every opening.
The Flashing and Water-Management Sequence That Actually Matters
Most window failures we get called out to inspect aren't a bad window — they're a flashing sequence that skipped a step or was done out of order. For new-construction openings in this climate, the sequence has to be layered so that any water that gets past one layer is caught and directed out by the next one, not sealed in behind it.
- Sill pan flashing first — a sloped, sealed pan under the window sill so any water that reaches the opening drains back out, not into the wall cavity
- WRB integration — the housewrap or building paper is lapped correctly around the opening before the window ever goes in, shingle-style, so water sheds downward and outward
- Window set and fastened — nailing fin fastened per manufacturer spec, opening checked for square and level before anything is sealed
- Side and head flashing — taped or flashed in the correct order over the fin, with the head flashing last so it laps over everything below it
- Sealant as backup, not primary defense — caulk and sealant close gaps, but they're the last line of defense, never the only thing standing between the window and the wall cavity
- Trim and cladding tie-in — exterior trim and siding installed so they shed water away from the window edges rather than trapping it against them
Skip the sill pan or flash the layers out of order, and a window can look perfect for years before a slow leak shows up as soft trim or a stain on an interior wall. On a harbor-facing home, that timeline is often shorter than it would be inland.
Frame Material: What Holds Up Near the Water
Frame material is a real trade-off decision, not a one-size-fits-all pick, and we'll talk through it honestly rather than push whatever is easiest to install.
| Frame Material | How It Handles This Climate | Maintenance Reality |
|---|---|---|
| Vinyl | Good moisture and salt resistance, no paint needed | Low — occasional cleaning, no refinishing |
| Fiberglass | Very stable in temperature swings, strong against warping and corrosion | Low — durable finish, minimal upkeep |
| Wood (unclad) | Attractive but most vulnerable to prolonged damp and moss-season exposure | High — regular painting/sealing required |
| Wood-clad (aluminum or fiberglass exterior) | Good — exterior face resists weather while wood interior stays protected | Moderate — interior finish still needs occasional attention |
For homes with direct harbor exposure, we generally steer clients toward vinyl, fiberglass, or a properly clad wood window rather than unclad wood on any elevation that takes weather straight off the water. That's not a knock on wood as a material — it's about matching maintenance burden to how much weather a given wall actually sees, and being honest that an unclad wood sill on a harbor-facing wall is going to need attention sooner than the homeowner might expect.
How We Approach a Blaine Harbor New-Construction Window Job
1. Walk the Openings Before Anything Is Ordered
We look at orientation, exposure, and roofline before finalizing window sizes or specs — a wall that takes wind-driven rain head-on gets more attention to flashing detail than a sheltered elevation.
2. Confirm Rough Opening Sizing and Squareness
New-construction openings need to be framed square and to the correct dimension before the window ever arrives on site. Getting this wrong causes shimming problems and compromised seals later.
3. Install Sill Pan and WRB Layers in Sequence
As covered above, this is the step that determines long-term performance more than any other. We don't skip it or shortcut the lap order to save time.
4. Set, Square, and Fasten the Window
Every window is checked for level, plumb, and square before final fastening — an out-of-square install stresses the sash and can cause operational and sealing problems for the life of the window.
5. Flash and Tape in the Correct Order
Side flashing before head flashing, always lapped so water sheds outward and down, never trapped behind a layer above it.
6. Trim, Seal, and Final Inspection
Exterior trim is installed to shed water away from the frame, sealant is applied as the backup layer it's meant to be, and every opening gets a final check before we call the job done.
Checklist: What a Correct New-Construction Window Install Should Include
- Sill pan flashing installed and sloped to drain outward, under every window
- WRB (housewrap) lapped shingle-style around the opening before the window is set
- Window checked for level, plumb, and square before final fastening
- Side flashing installed before head flashing, in correct shingle-lap order
- Sealant used as a backup layer, not the sole water barrier
- Frame material matched to the wall's actual exposure to wind-driven rain and salt air
- Exterior trim detailed to shed water away from the window, not pool against it
- Fasteners and metal flashing rated for coastal/salt-air exposure
Why Hiring a Crew That Already Works Blaine Harbor Matters
A window installer who mostly works inland jobs isn't necessarily doing anything wrong on those projects — but the margin for error on a harbor-facing Blaine home is smaller. A crew that regularly works this stretch of Whatcom County has already seen how driving rain behaves against these walls, which elevations take the worst of the salt air, and where moss and prolonged dampness cause problems that don't show up for a year or two. That experience shows up in small decisions during the install — how tight the flashing laps are, which fastener gets used where, how trim is detailed on the exposed side of the house — that add up to a window opening that's still performing well a decade from now instead of one that looks fine on install day and causes problems later.
Timing: New Builds, Additions, and Full Re-Sides
New-construction windows make the most sense in three situations: a home being built from the ground up, an addition where new wall framing is going in anyway, or a full siding tear-off where the wall is already open to the sheathing. If your project falls into one of those categories, it's worth planning the window installation as part of the same water-management sequence as the siding and WRB, rather than treating it as a separate trade that gets slotted in afterward. Coordinating the sequence up front is what prevents the flashing gaps that cause problems later.
If you're planning a new build, addition, or full re-side near Blaine Harbor and want windows installed with the flashing and frame choices this climate actually calls for, we're glad to walk the site and put together a straightforward, no-pressure estimate — just fill out the form below.