 Blaine Siding
 Building New in Ferndale? The Windows Deserve as Much Attention as the Foundation
When you're framing a new home in Ferndale, windows tend to get treated as a fixture — something that goes in once the shell is up and gets picked from a catalog. That's a mistake in this part of Whatcom County. New-construction windows are structural openings in your building envelope, and how they're flashed, sealed, and tied into the weather-resistive barrier determines whether your walls stay dry for the next thirty years or start hiding rot behind the drywall in five. We install new-construction windows on homes throughout the Ferndale area as part of our regular siding and exterior work out of Blaine, and the install details that get skipped on a rushed job are almost always the ones that show up later as water stains, soft trim, or mold behind the wall.
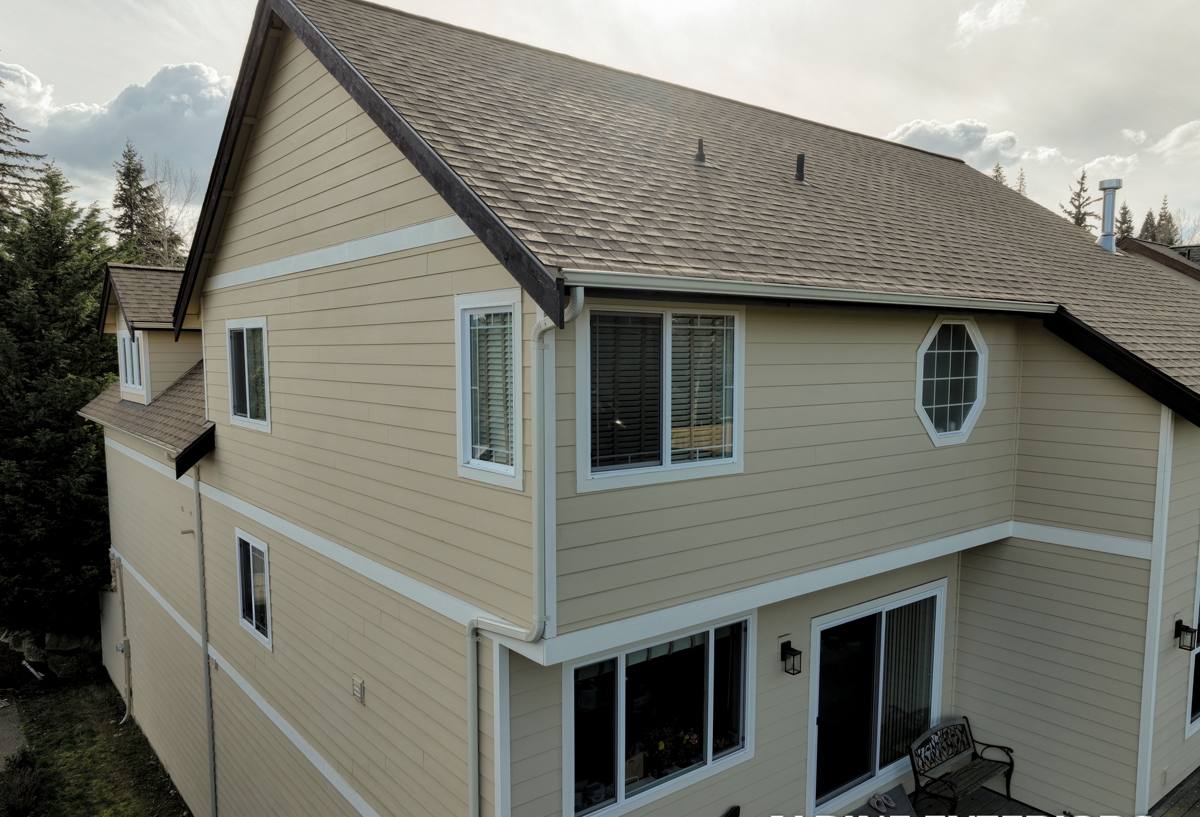
What Whatcom County's Marine Climate Does to New-Construction Windows Over Time
Ferndale sits close enough to the water that homes here deal with a different load than a house fifty miles inland. None of this is exotic — it's the same Pacific Northwest marine climate every builder up here works around — but it does change what "correct" installation looks like.
Salt Air and Coastal Exposure
Salt-laden air corrodes exposed fasteners, staples, and unprotected metal flashing faster than it would inland. On a new build, this means choosing corrosion-resistant fasteners and flashing materials at the window opening, not standard-grade hardware that's fine in a drier climate but starts pitting within a few years near the coast.
Wind-Driven Rain and Flashing Failures
Storms off the water push rain sideways, not straight down. A window that's only flashed to shed water vertically — a common shortcut — will let wind-driven rain work its way up and under the flashing at the sill and jambs. This is the single most common failure point we find when we're called in to fix water damage around windows that were installed without accounting for driving rain.
Moss, Shade, and Prolonged Moisture
Long, wet stretches with limited direct sun mean moisture sits on exterior surfaces longer here than in drier regions, and moss and algae growth accelerates wherever water isn't shedding cleanly. Around windows, that translates to sealant and trim staying damp longer, which shortens the life of any product that isn't rated for sustained moisture exposure.
New-Construction Windows vs. Replacement Windows: Why the Install Method Matters
New-construction windows are built with a nailing fin around the perimeter of the frame, designed to be installed into an open stud bay before the siding and often before the weather-resistive barrier is fully lapped over the opening. Replacement windows are built without that fin, designed to slide into an existing frame from the interior or exterior of a house that's already finished. The two are not interchangeable, and installing a new-construction window like a replacement — or vice versa — creates gaps in the moisture management system that no amount of caulk fixes permanently.
On a new build, the nailing fin gives us the opportunity to integrate the window properly into the wall's drainage plane from the start. That's the real advantage of new construction: done right, the window becomes part of a continuous water-shedding system rather than a patched-in fixture. It's also the reason the sequencing matters — windows have to go in at the right point in the framing and weather-barrier schedule, not whenever it's convenient.
What a Correct New-Construction Window Install Actually Involves
Sill Pan and Flashing Sequence
Every opening should get a sloped sill pan before the window ever sits in the rough opening — a barrier that catches any water that gets past the window and directs it back outside instead of into the wall cavity. From there, flashing goes on in a specific shingle-lap order: sill first, then jambs, then head flashing last, each layer overlapping the one below it so water is always directed downward and outward, never trapped behind a lap running the wrong way.
Working with the Weather-Resistive Barrier
The window's nailing fin has to integrate with the house wrap or building paper in the correct order — WRB behind the sill flashing, but over the jamb and head flashing — so the whole assembly sheds water down and over itself all the way to the foundation. Get this order backward and you've built a shelf that catches water instead of shedding it, and you won't know it until the damage is already inside the wall.
Sealant and Fastening Details
Not every sealant is compatible with every window frame material or with the housewrap it's sitting against — some sealants break down or fail to bond against certain vinyl or coated-metal surfaces. We match sealant to substrate rather than using one tube of caulk for everything on the job, and we use fasteners rated for coastal exposure rather than standard interior-grade hardware.
Choosing the Right Window Material and Glass Package for This Climate
There's no single "best" window material — the right choice depends on budget, maintenance appetite, and how exposed the home is to weather. Here's how the common options compare for a new build in this area:
| Material | Coastal / Moisture Performance | Maintenance | Typical Cost Position |
|---|---|---|---|
| Vinyl | Good — won't rot or corrode; seams need quality welding to stay watertight | Low — no painting or sealing needed | Most affordable |
| Fiberglass | Very good — dimensionally stable in temperature swings, resists moisture well | Low to moderate | Mid to upper range |
| Wood-clad | Depends heavily on cladding quality and seal integrity at joints | Higher — exposed wood needs monitoring and occasional refinishing | Highest |
Glass packages matter as much as frame material. In a marine climate, we generally recommend a low-E coated, argon- or krypton-filled insulated glass unit with a U-factor and solar heat gain coefficient suited to the Pacific Northwest's mild-but-damp conditions — good for keeping heat in during long wet winters without over-solving for heat gain that isn't a major issue here. We'll walk through the NFRC label on any window you're considering so you know exactly what you're buying, not just a marketing name for the glass.
How We Coordinate with Builders and GCs on New Construction
Window installation on a new build isn't a standalone job — it has to land at the right point between framing and siding, and it has to match whatever the GC's weather-barrier plan is for the rest of the house. Our process on Ferndale builds typically runs like this:
- Review the window schedule and rough opening sizes against the actual units ordered, before they arrive on site — catching a sizing mismatch before install day, not after.
- Inspect rough openings for square, level, and proper structural support before flashing begins.
- Install sill pans, flashing, and windows in sequence with the WRB installer, so the layering is correct rather than retrofitted.
- Photo-document flashing and sill pan work at each opening before it's covered by siding — useful for the builder's records and for any future warranty question.
- Final air- and water-seal check on the interior and exterior before we sign off and the trades behind us move in.
Showing up on someone else's build schedule and doing this right requires communication, not just install skill — we coordinate directly with the GC or framer rather than working in isolation.
Pre-Siding Checklist: What to Verify Before the Walls Close Up
Once siding goes on, the flashing behind it is out of sight for decades. This is the point in the build where mistakes are cheapest to catch and most expensive to ignore. Before we sign off on any opening, we confirm:
- Sill pan is sloped correctly and fully sealed at the corners
- Flashing is lapped in the correct shingle-style order — sill, then jambs, then head
- WRB integration follows the correct behind-sill, over-jamb, over-head sequence
- All fasteners are corrosion-resistant and properly seated, not overdriven or missed
- Sealant used is compatible with both the window frame material and the WRB
- Window is square, plumb, and operates smoothly before it's buried behind trim
- Rough opening gaps are insulated per the window manufacturer's instructions, not overpacked
Why a Crew That Already Works Ferndale and Blaine Matters
A lot of the details above aren't unique to any one manufacturer's instructions — they're judgment calls that come from having installed windows through enough wet Whatcom County winters to know where water actually goes on a real wall, not just on a diagram. We're based in Blaine and work new-construction jobs throughout Ferndale and the surrounding area regularly, which means we already know the wind exposure patterns, the inspection expectations, and the kind of driving rain a house here needs to shed. That's the difference between a window that's technically installed and one that's actually built to last in this climate.
If you're planning a new build in Ferndale and want windows installed right the first time, we're happy to walk your plans, talk through material options, and give you a straightforward, no-pressure estimate using the form below.