 Blaine Siding
 New-Construction Windows Are a Different Job Than a Replacement
New-construction windows go in during the framing stage, before siding and trim exist. The unit has a nailing fin that gets integrated directly into the wall's weather-resistive barrier (WRB), then the siding laps over the top. A replacement window, by contrast, gets set into an existing opening with the old trim and cladding still in place. These are not interchangeable jobs, and the tolerances are different: on a new build, whatever gets buried behind the siding stays buried for the life of the house.
That matters more in Birch Bay than in a lot of places. Homes here sit close to the water, exposed to wind off the Strait, and once the siding goes on, nobody is opening the wall back up to fix a bad flashing lap. Get the window-and-WRB integration right the first time, or the house inherits a slow leak that won't show up until the sheathing behind it has already started to fail.
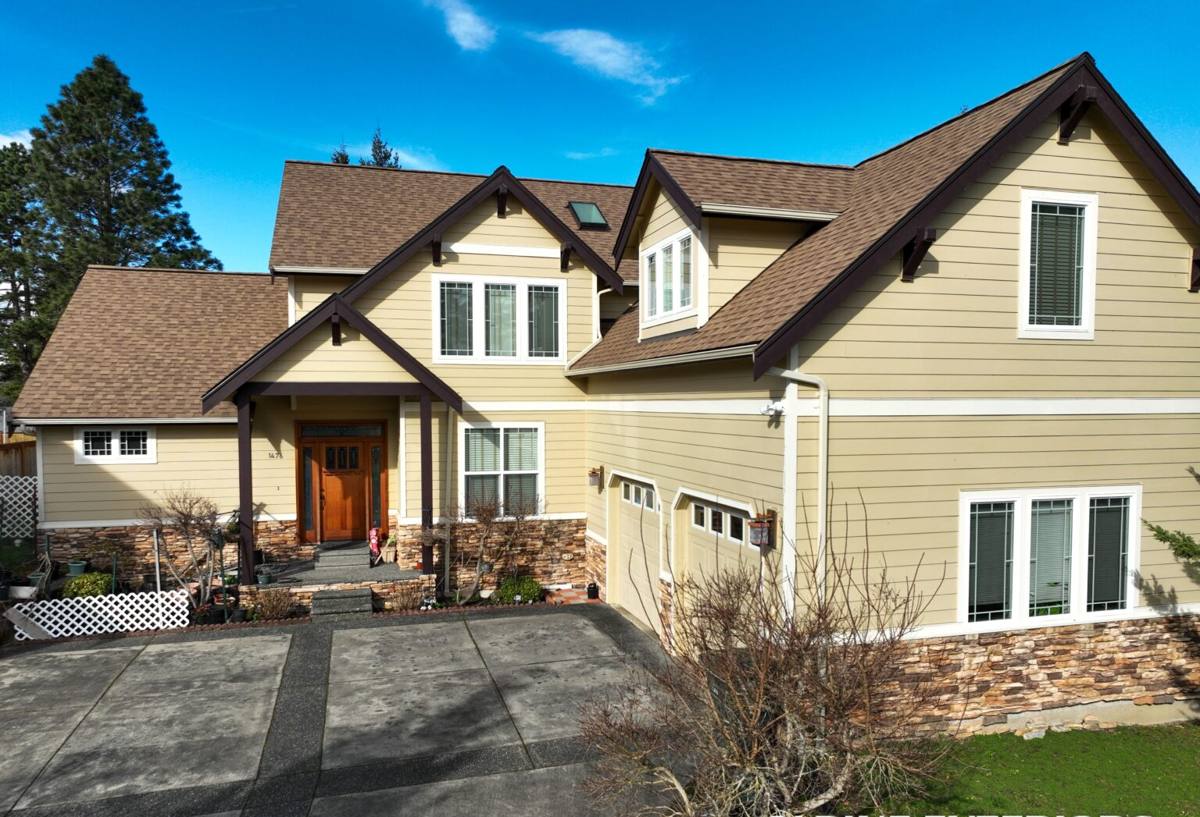
What Birch Bay's Waterfront Climate Asks of a Window Install
Salt Air and Hardware
Birch Bay's shoreline exposure means salt-laden air reaches homes that would otherwise be considered "inland" anywhere else in Whatcom County. Uncoated fasteners, cheap hinges, and bare aluminum cranks corrode faster here than they would a few miles east. We spec corrosion-resistant fasteners and hardware for anything within reach of that marine air, not because a manufacturer's standard spec is unsafe, but because the standard spec is usually written for a climate that isn't sitting on the water.
Wind-Driven Rain Off the Strait
Rain that falls straight down is easy to shed. Rain that's being pushed sideways by wind coming off the water is a different problem — it finds gaps that would never leak in a calm rain. Birch Bay lots facing the water take more of this wind-driven rain than most Blaine-area properties set back from the shoreline, and a window's water management details (not just its glass) are what actually keep that out.
A Moss Season That Doesn't Really End
Whatcom County's wet season runs long, and Birch Bay's damp, shaded lots grow moss and algae on north- and west-facing walls for much of the year. That growth holds moisture against siding and window trim longer than it would on a drier wall, which is one more reason the drainage and flashing details around a window opening need to be right — there's less margin for a lazy install to dry out between rain events.
Picking a Frame Material That Holds Up on a Coastal Lot
Frame material is a bigger decision on a coastal build than it is inland, because salt air, humidity, and UV all work on the frame at once. There's no single right answer for every house — it comes down to budget, maintenance appetite, and how exposed the lot is.
| Frame Material | Coastal Suitability | Maintenance | Relative Cost |
|---|---|---|---|
| Vinyl | Good — won't corrode or rot; verify UV-stable formulation | Low — occasional cleaning | Lowest |
| Fiberglass | Very good — stable through temperature and humidity swings | Low | Mid to higher |
| Aluminum (thermally broken) | Fair — needs a quality finish; bare or poorly finished aluminum corrodes near salt air | Moderate — watch finish over time | Mid |
| Wood-clad | Requires diligence — exterior clad face helps, but any exposed wood or failed seal invites rot in this climate | Highest | Highest |
Our standard for waterfront and near-waterfront Birch Bay builds leans toward vinyl or fiberglass for most projects, simply because they ask the least of a homeowner over the next twenty years in this climate. Wood-clad windows can still be the right call for a specific look, but we'll walk through what that maintenance commitment actually looks like here before you commit to it — that's an honest trade-off conversation, not a knock on the product.
The Flashing Sequence That Actually Keeps Water Out
Windows don't leak because the unit itself is bad nearly as often as they leak because the flashing sequence around it was rushed or done out of order. On a new-construction install, the sequence looks like this:
- Sill pan flashing installed first, with end dams, so any water that gets past the window has somewhere to drain back out — not into the wall cavity.
- Window set into the opening, shimmed level, plumb, and square, then fastened per the manufacturer's schedule.
- Jamb flashing applied in a shingle-lap pattern so each layer sheds water onto the layer below it.
- Head flashing installed last at the top, lapping over the WRB above it.
- Backer rod and sealant at the perimeter, sized and placed so the joint can flex without failing.
Where a window sits under a roofline or deck intersection, we also add kick-out flashing to divert roof runoff away from the wall plane instead of letting it sheet down across the window head — a detail that gets skipped more often than it should, and one that matters more on a wet Whatcom County roofline than almost anywhere else in the state.
Performance Numbers Worth Checking Before You Sign Off
A window's energy label tells you part of the story. On a Birch Bay build, a few other numbers matter just as much:
- U-factor — heat loss through the frame and glass; Washington's energy code sets minimums by climate zone, and Whatcom County new construction needs to meet them.
- SHGC (solar heat gain coefficient) — less critical here than in sunnier climates, but still worth checking against orientation, especially on west-facing water-view walls.
- Design pressure (DP) rating — the window's tested resistance to wind load and water infiltration under pressure; open-water lots in Birch Bay warrant a higher DP rating than a sheltered inland lot would need.
- Condensation resistance — relevant in a climate with long stretches of high humidity and temperature swings between a heated interior and a cold, wet exterior.
We check these against the specific lot, not just a generic spec sheet, because a window rated fine for a sheltered inland property isn't automatically the right call for a lot that faces open water.
How We Work With Your Builder on a New-Construction Job
Most of our new-construction window work happens as a sub to a general contractor or builder, and the process is built around not becoming the bottleneck on their schedule:
- Pre-install walkthrough of the rough openings once framing is complete, checking sizes against the approved window schedule before units are ordered.
- Verifying delivered units against the plans and manufacturer specs before anything goes into the wall — catching a wrong size or configuration before it's installed costs a day; catching it after costs a lot more.
- Installing to the manufacturer's written instructions, which is what keeps the manufacturer's warranty intact if something ever does go wrong.
- Photo documentation of the flashing and sill pan work before the WRB and siding cover it — useful for the builder's records and for anyone troubleshooting years down the road.
A Correct Install, as a Checklist
If you're a homeowner working with a builder and want to know what to ask about, this is roughly what a correct new-construction window install includes:
- Rough opening checked for level, plumb, and correct dimensions before the window arrives
- Sill pan flashing with end dams, sloped or drained to the exterior
- Window shimmed and fastened per the manufacturer's schedule — not just "nailed until it feels solid"
- WRB integrated in proper shingle-lap order at jambs and head
- Backer rod and sealant at the exterior perimeter, sized for the joint
- Kick-out flashing at any roof-to-wall intersection above the window
- Interior air-sealing at the rough opening, separate from the exterior water management
- Photos taken before the siding covers the work
Timing It Around Whatcom County's Building Season
Whatcom County's wet season runs long, and framed walls with exposed sheathing don't do well sitting open through weeks of rain. On new builds we coordinate window delivery and install to happen as soon as possible after the WRB goes on, so the wall isn't exposed any longer than necessary. Late fall and winter builds need tighter sequencing and more attention to keeping water off exposed sheathing between trades; a summer build gives more room for error, but the flashing standard doesn't change either way — it's the same detail whether it's July or January, because the wall has to perform the same way in next January's storms regardless of when it was built.
Why Local Experience in Birch Bay Matters
A crew that's worked other Birch Bay and Blaine lots already knows which streets sit exposed to open water and need a higher wind and water rating, which lots are sheltered enough that a standard spec is fine, and how the local building department in Whatcom County wants inspections sequenced on new construction. That's the kind of thing you only really learn by doing the work here repeatedly — not something you can fully get from a spec sheet or a general contractor training manual. It shows up in fewer surprises during inspection and fewer callbacks after the siding's already on.
If you're building in Birch Bay and want a straight answer on window selection, flashing details, or how we'd sequence the work with your builder's schedule, we're glad to walk the plans with you. Reach out for a free, no-pressure estimate using the form below.