 Blaine Siding
 Why Blaine Harbor Homes Wear Out Siding Faster
Homes near Blaine Harbor take a different kind of beating than houses even a few miles inland. The combination of salt-laden air off the water, wind-driven rain that finds every gap in a wall system, and a moss season that can stretch from October well into spring adds up to some of the toughest siding conditions in Whatcom County. If you've owned a home in this neighborhood for more than a few years, you've probably already seen it: paint that won't hold, trim that goes soft, or siding panels that look tired long before they should.
None of this means your home is doomed to constant repairs. It means the siding system you choose and the way it's installed matter more here than they would in a drier, more sheltered part of the county. That's the whole focus of this page — what Blaine Harbor homes actually need from a siding replacement, and how we deliver it.
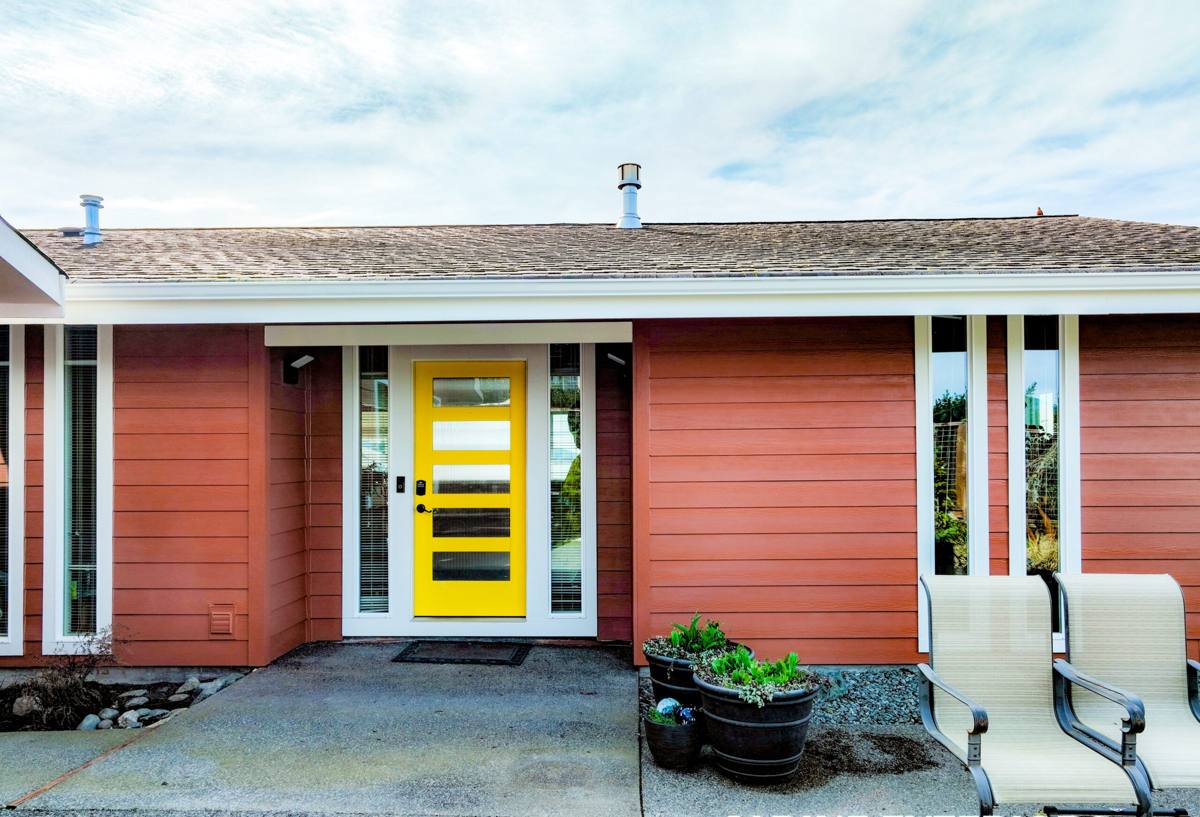
What Salt Air, Rain, and Moss Actually Do to Siding
Salt Air
Airborne salt from the harbor settles on exterior surfaces and accelerates corrosion of fasteners, flashing, and any metal trim components. It also breaks down cheaper paint films faster than inland exposure, which is why houses near the water often need repainting on a shorter cycle than the rest of town.
Wind-Driven Rain
Blaine sits exposed to weather coming off the Strait of Georgia, and storms here don't just fall straight down — they drive rain sideways into wall assemblies. Any weakness in the water-resistive barrier, flashing, or siding overlaps becomes an entry point. Over time, that moisture works into sheathing and framing long before you'd ever see a stain on the siding face.
Moss and Sustained Dampness
Whatcom County's long wet season keeps north- and west-facing walls damp for weeks at a stretch. Moss and algae take hold on siding that stays shaded and moist, and on porous or poorly sealed products that growth can hold moisture against the wall longer than it should sit there.
Put those three together and you get a simple conclusion: siding for this neighborhood needs to resist moisture absorption, hold its finish without constant repainting, and go on top of a wall assembly that's detailed correctly for wind-driven rain — not just a product that looks good on day one.
Why We Only Install James Hardie Fiber Cement
We install James Hardie fiber cement siding exclusively. We don't install vinyl, LP SmartSide, Cemplank, Allura, primed spruce, or cedar, and that's a deliberate standard, not a limitation in what we're capable of installing.
- Non-combustible core: fiber cement doesn't feed a fire the way wood-based products can.
- Moisture-resistant by composition: Hardie's fiber cement doesn't absorb and swell the way engineered wood siding can when a seam or cut edge gets wet repeatedly.
- ColorPlus factory finish: a baked-on finish that holds color and resists fading and chipping far better than field-applied paint, which matters a lot in a salt-air, sun-and-rain climate that's hard on paint films.
- Climate-engineered HZ product lines: Hardie makes region-specific formulations, and the HZ5 line is built for wetter, cooler climates like the Pacific Northwest.
- Strong transferable warranty: Hardie backs its products with a warranty that stays with the house if you sell, which matters to buyers evaluating a home near the water.
Vinyl can crack and fade under UV and temperature swings, and it can't be painted a truly custom color without voiding warranty terms. Cedar and primed spruce need ongoing maintenance to resist rot in a climate that never really dries out. Engineered wood products like LP SmartSide perform well when detailed and maintained perfectly, but they rely on a resin-treated wood strand core that's more sensitive to sustained moisture exposure at cut edges and seams than fiber cement is. In a location like Blaine Harbor, where the margin for error on moisture management is small, we'd rather install one product we trust completely than offer several and hope the installation covers for a product's weak points.
What a Correct Siding Replacement Involves Here
Replacing siding isn't just swapping old panels for new ones. Done right, especially in a high-exposure area like this, it's really a wall-system rebuild. Here's what that looks like.
1. Full Tear-Off and Inspection
We remove the existing siding down to the sheathing and inspect for water damage, soft spots, or rot — problems that are common on homes that have taken years of wind-driven rain, especially around windows, doors, and lower wall sections near grade.
2. Sheathing Repair
Any compromised sheathing gets replaced before anything else happens. Installing new siding over damaged sheathing just locks a problem behind a fresh wall.
3. Water-Resistive Barrier
A new weather-resistant barrier goes on with attention to shingle-lap sequencing — every layer overlapping the one below it — so water is directed out and down instead of finding its way behind the barrier.
4. Flashing Details
Windows, doors, and any wall penetrations get properly flashed and integrated with the water-resistive barrier. This is one of the most common places we find gaps in older installations, and it's the single biggest factor in whether wind-driven rain stays out of the wall.
5. Hardie Panel Installation to Manufacturer Spec
Fastener placement, panel gaps, caulking at joints, and clearance from grade and roof lines all follow Hardie's published installation requirements. These specs exist for a reason — deviate from them and you undercut the product's performance and can void the warranty.
6. Trim and Finish Work
Corner boards, trim, and caulking get finished to shed water at every joint, with attention to the areas most exposed to prevailing wind and rain.
Planning Your Project: A Practical Checklist
- Confirm the crew inspects sheathing condition before quoting a final price — hidden damage changes scope.
- Ask specifically which Hardie product line is being proposed (lap siding, panel, shingle-style) and whether it's the HZ5 climate formulation.
- Get color and finish decided early — ColorPlus factory finishes have lead times and a limited but well-curated palette.
- Ask how flashing at windows and doors will be handled, not just how the siding itself will be installed.
- Clarify what happens to trim, gutters, and downspouts during the tear-off and reinstall.
- Get a written scope that separates siding, trim, and any sheathing repair as line items, so you know what you're paying for.
Cost Factors for a Blaine Harbor Siding Replacement
Every home is different, and we won't quote a number without seeing the house, but these are the variables that actually move the price on a project like this.
| Factor | Why It Matters |
|---|---|
| Sheathing condition | Water-damaged sheathing found during tear-off adds repair scope before new siding can go on |
| Home size and wall complexity | More corners, dormers, and wall breaks mean more trim, more cutting, and more labor |
| Siding profile chosen | Lap, shingle-style, and panel products differ in material cost and install time |
| ColorPlus vs. field-painted finish | Factory finish costs more up front but eliminates a repaint cycle for years |
| Existing trim and flashing scope | Full trim replacement adds cost but improves long-term water management |
| Access and site conditions | Tight lots, landscaping, or multi-story walls affect labor and staging |
Because sheathing damage often isn't visible until tear-off begins, we build room into our process to communicate any changes in scope before we proceed — you should never be surprised by a number after the work has started.
Why Local Experience in Blaine Harbor Matters
A crew that already works this neighborhood knows what to expect before the tarp comes off the old siding. We've seen how far salt exposure travels inland from the water, which wall orientations in this area hold moss the longest, and how the wind typically hits these lots during winter storms. That's not something you learn from a general contracting background — it's specific to working Whatcom County's coastline repeatedly.
That local pattern recognition shows up in small decisions that add up: extra attention to flashing on the walls that take the worst of the weather, fastener choices that hold up better against salt exposure, and a realistic sense of how a project timeline needs to work around this region's wet season.
Maintenance After Your New Siding Goes On
One advantage of fiber cement in a climate like this is how little ongoing maintenance it demands compared to wood-based alternatives. That said, a few habits will keep it looking right for the long haul.
- Rinse siding periodically to remove salt residue and organic buildup, especially on walls facing the water.
- Keep gutters clear so overflow doesn't run down the wall face and encourage moss growth.
- Trim back vegetation that shades siding and keeps it damp longer than the rest of the house.
- Inspect caulking at trim joints every couple of years and have gaps resealed before they let water in.
None of this is heavy maintenance — it's the kind of upkeep that takes an hour or two a year and protects the investment you've made in a wall system built for this environment.
Get an Honest Look at Your Home
If your siding is showing its age — paint that won't hold, panels that feel soft, or moss that keeps coming back no matter how often you clean it — the fix isn't another coat of paint. It's a wall system built for what Blaine Harbor actually throws at it. We'd be glad to walk your property, look at what's really going on, and give you a straightforward assessment with no pressure to sign anything. Fill out the form below to schedule a free estimate.