 Blaine Siding
 Building New in Nooksack Means Building for the Weather Twice
When a home in the Nooksack area is framed up and ready for windows, you get one real shot at getting the opening right. Once siding, trim, and interior finishes go on, a poorly flashed window stops being a window problem and becomes a wall problem. In this corner of Whatcom County, that stakes matter more than in drier parts of the state. Homes here deal with salt-laden marine air moving in off the water, wind-driven rain that doesn't fall so much as get pushed sideways, and a moss season that can stretch for months on shaded north and west walls. A new-construction window installed correctly the first time will outlast the house's first few finish coats. One installed carelessly can hide a leak behind drywall for a year before anyone notices the stain.
This page is about that one job: installing new-construction windows in homes being built or substantially reframed in the Nooksack area, and what it actually takes to do it right given our local climate.
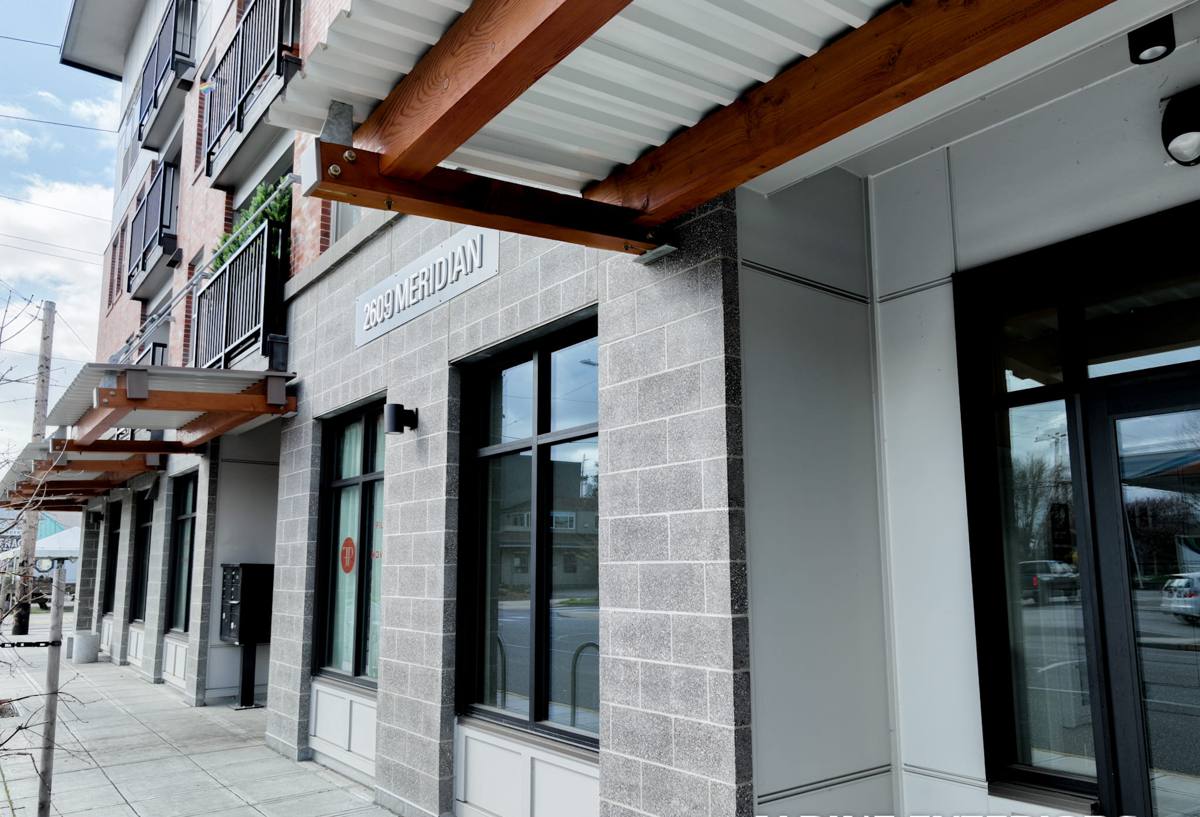
What Salt Air, Driving Rain, and Moss Season Do to a Window Opening
New-construction windows aren't just glass and frame — they're a system that has to work with the house wrap, flashing tape, sheathing, and siding around them. In Whatcom County's climate, three things put that system to the test.
Salt Air and Hardware Corrosion
Even homes set back from the water pick up salt-bearing air moving off Puget Sound and the Strait of Georgia, especially on wind-driven days. Over years, that air attacks unprotected steel fasteners, cheap balance hardware, and low-grade cladding finishes. It's a slow process, which is exactly why it gets ignored — the failure doesn't show up at the one-year walkthrough, it shows up five or ten years in as pitted hardware, stuck sashes, or streaking at fastener heads.
Wind-Driven Rain at the Rough Opening
Rain that falls straight down is forgiving. Rain that's pushed sideways by wind — which is a normal weather pattern here, not an occasional storm event — finds every gap in a flashing job. It drives up and under sill flanges, behind head flashing that wasn't lapped correctly, and into any nail fin that wasn't fully sealed. A window can look perfectly installed from the outside and still be letting water into the wall cavity every time it storms.
Moss, Shade, and Trapped Moisture
Whatcom County's long wet season means anything that stays damp for extended periods grows moss, algae, or mildew — including window sills, trim boards, and the caulk lines around openings. On shaded elevations, moisture that would dry out in a day somewhere sunnier can sit for a week. That doesn't just look bad; it accelerates rot in any wood trim and breaks down sealants faster than their rated lifespan.
New-Construction Windows vs. Retrofit: Why the Method Isn't Optional
New-construction windows have a nailing flange built into the frame that's designed to be integrated directly into the wall's water management system — house wrap, flashing tape, and sill pan — before siding goes on. This is different from a replacement or retrofit window, which is designed to slide into an existing, already-finished opening without disturbing the siding around it.
Using the wrong approach for the situation is one of the most common ways a good window ends up performing poorly. A new-construction window installed correctly ties into the wall's drainage plane as a system. Skipping steps in that sequence — or treating a new-construction opening like a simple retrofit — is how water finds its way behind the finish materials instead of shedding off the face of the house.
What a Correct New-Construction Window Install Actually Involves
There's a specific order of operations that makes a new-construction window installation watertight for the long run. Skipping or reordering these steps is where most failures start, even when the window itself is a good product.
- Rough opening checked for square, level, and correct dimensions before the window ever shows up on site
- Sill pan flashing installed and sloped to shed any water that gets past the window back to the exterior, not into the wall
- House wrap or building paper integrated at the sides and head using proper shingle-lap order, so water always drains down and out
- Window set into the opening, checked for square and plumb, and fastened per the manufacturer's schedule
- Flashing tape applied at the flanges and jambs, lapped correctly with the wrap above and below
- Head flashing installed last, lapping over the wrap so it directs water out and away from the top of the frame
- Sealant applied at manufacturer-specified points only — not smeared everywhere as a substitute for correct flashing
- Interior air sealing and insulation of the gap between frame and rough opening, avoiding materials that trap moisture
Every one of those steps has to happen in sequence, on a dry day or under proper temporary protection, before the next trade covers it up with siding or interior finish. Once that happens, a mistake at any one of these points is invisible until it fails.
Choosing a Window Frame for a Nooksack Build
Frame material matters as much as brand when a house is exposed to salt air, sustained damp, and heavy wind-driven rain. There's no single "best" material for every project — it depends on the home's design, budget, and how exposed a given elevation is. Here's how the common options compare for this climate.
| Frame Material | Climate Performance | Maintenance | Typical Cost Tier |
|---|---|---|---|
| Vinyl | Good moisture and salt resistance; won't corrode or rot | Low — occasional cleaning | Lower |
| Fiberglass | Excellent stability in temperature swings and wind-driven rain; very low expansion/contraction | Low | Mid to higher |
| Wood interior / clad exterior | Strong appearance, good performance if the exterior cladding and flashing are done correctly | Moderate — exposed wood needs upkeep, clad exteriors need periodic inspection at seams | Higher |
| Aluminum | Prone to condensation and, without a thermal break, corrosion in salt-influenced air | Moderate to high | Varies |
Our standard is to steer homeowners away from bare aluminum frames without a thermal break on this kind of build — not because aluminum is inherently a bad product, but because condensation and long-term corrosion risk in salt-influenced, high-moisture air make it a poor match for the climate without added detailing and cost. Vinyl and fiberglass tend to be the more predictable long-term performers for most new-construction budgets in this area.
Our Process, From Framing Walkthrough to Final Seal
On new construction, we get involved before the windows ever arrive on site.
Plan and Opening Review
We review rough opening sizes against the ordered window schedule and check them against the framing before installation day, so mistakes get caught while they're still cheap to fix.
Weather-Sequenced Installation
Given how often this area sees wind-driven rain, we sequence flashing and window-setting work around weather windows rather than pushing through wet, driving conditions that compromise tape adhesion and sealant cure.
Flashing and Water Management
Sill pans, house wrap integration, and head flashing are installed in the order and lap sequence described above — every time, not as an optional upgrade.
Final Check Before Siding Closes It Up
Before siding crews cover the openings, we do a final check of flashing laps, fastener seating, and sealant placement. This is the last point where a mistake is easy and cheap to correct — once siding goes on, it isn't.
Problems We're Called to Fix Later — and How We Design Them Out
Most of the window-related repair calls we get on newer homes trace back to a handful of recurring issues: missing or reversed flashing laps, sealant used in place of proper flashing, sill pans left out entirely, or a rough opening that was slightly out of square and shimmed poorly to compensate. None of these show up on move-in day. They show up as a stained ceiling below a window, a musty smell in a wall cavity, or hardware that's seized up years earlier than it should have. Building the correct sequence into every install — rather than treating flashing as a step to speed through — is the difference between a window that performs for decades and one that becomes a quiet, expensive problem.
Why a Crew That Already Works This Part of Whatcom County Matters
A window installer who mostly works drier, calmer regions can do competent work and still get caught out by conditions that are routine here — sideways rain during a supposedly simple install day, a shaded north wall that never fully dries between storms, or salt-air exposure that shortens the life of the wrong hardware choice. Working regularly in and around Blaine and the Nooksack area means knowing which elevations need extra attention, which materials hold up under sustained damp, and how to sequence a job around this area's weather instead of fighting it. That local pattern recognition is hard to fake and easy to underestimate until something fails.
If you're building or reframing a home in the Nooksack area and want new-construction windows installed by a crew that treats flashing and sequencing as seriously as the windows themselves, we're glad to take a look at your plans and rough openings. Use the form below to request a free, no-pressure estimate — there's no obligation, just a straight answer on what your project needs.