 Blaine Siding
 Windows Built for Where Dakota Creek Actually Sits
Dakota Creek homes sit close enough to the water and the marine air moving off Semiahmoo Bay that windows here take a different kind of beating than windows forty miles inland. It's not one dramatic event that ruins a window in this part of Whatcom County — it's the slow, cumulative work of salt-laden air, wind-driven rain that comes at the glass sideways instead of straight down, and a moss season that can stretch from October through April. A window that was installed correctly for a dry inland climate can still fail here in half the time if it wasn't detailed for this specific environment.
That's the whole reason this page exists as its own thing rather than a generic "window installation" page. The install itself — the flashing sequence, the sealant choice, the frame material — needs to answer to Dakota Creek's conditions, not to a national average.
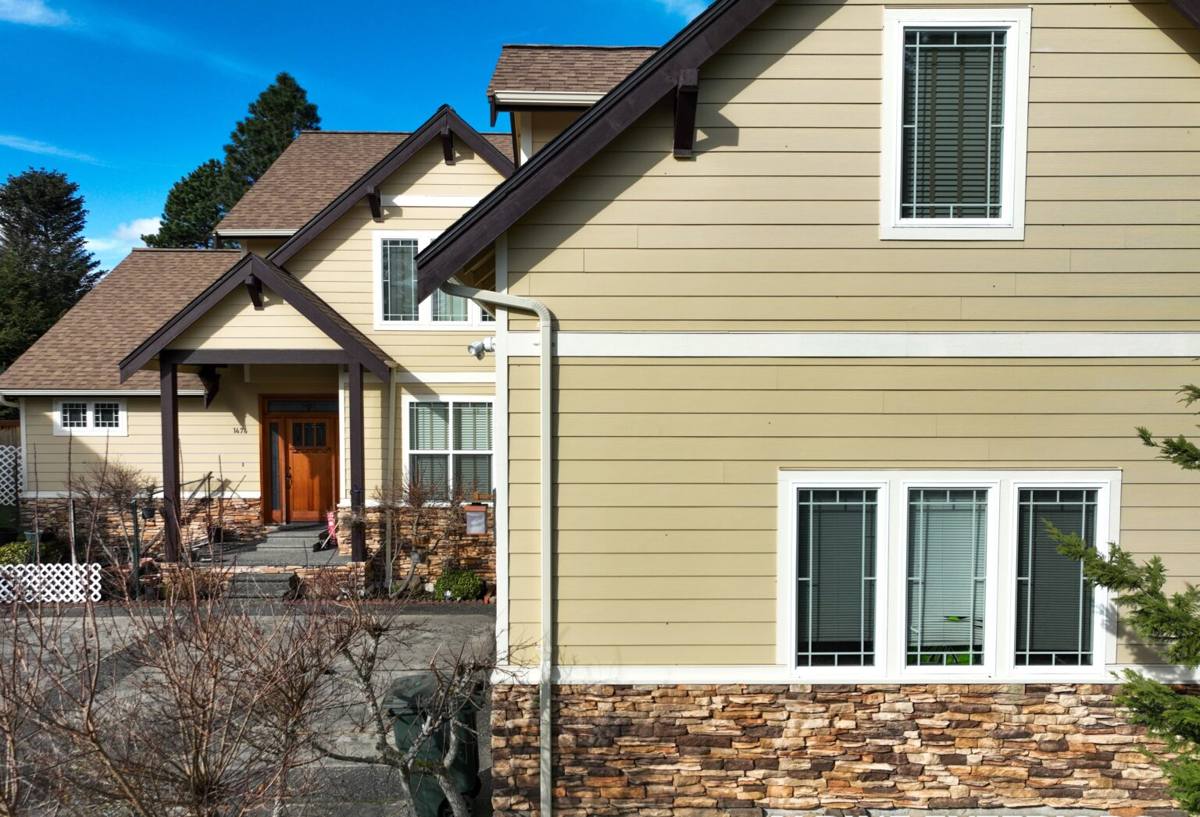
What Salt Air, Rain, and Moss Do to a Window Over Time
Each of these three factors attacks a window differently, and understanding that is what separates a correct install from one that just looks fine on day one.
Salt Air
Airborne salt is corrosive to unprotected metal fasteners, hinges, and lesser-grade hardware. It also accelerates the breakdown of some sealants and finishes faster than a normal exterior schedule would predict. Windows near Blaine's shoreline need hardware and sealant rated for that exposure, not just whatever ships standard with a builder-grade unit.
Driving Rain
Rain that comes in at an angle — common with the wind patterns off the bay — tests a window's flashing and drainage path far harder than vertical rain does. Wind-driven rain will find any gap in the weather-resistive barrier or any shortcut in the flashing overlap and push water behind the siding rather than off of it. Most window leaks aren't glass or frame failures at all; they're flashing failures.
Moss and Sustained Moisture
A long moss season means more months of the year where wood trim, sills, and surrounding siding stay damp longer between dry spells. That sustained moisture is what lets rot start in window sills, jambs, and the wood framing around an opening — often well before the homeowner sees any sign of it from inside.
Signs a Dakota Creek Home's Windows Are Losing the Battle
- Soft or spongy wood at the sill or bottom corners of the window trim
- Paint or finish bubbling, peeling, or discoloring around the frame
- Fogging or moisture between panes on double- or triple-glazed units, which signals a failed seal
- Drafts or a noticeable temperature difference near the window on windy days
- Difficulty opening, closing, or locking a window that used to operate smoothly
- Visible gaps between the window frame and the siding or trim
- Moss or persistent green staining building up on the sill or the trim just below the window
Any one of these on its own isn't necessarily an emergency, but they're worth having looked at before the damage moves from the trim into the wall framing.
What a Correct Window Installation Actually Involves
The visible part of a window install — setting the new unit, trimming it out, caulking the edges — is the easy part to get right. The part that determines whether the window lasts happens underneath, and it's the part a homeowner never sees again once the trim goes back on.
Removal and Opening Inspection
Once the old window comes out, the opening gets inspected before anything new goes in. This is the point where hidden rot, soft sheathing, or old flashing failures show up. Any compromised wood or sheathing gets addressed here — installing a new window over a damaged opening just seals the problem in behind it.
Flashing and Weatherproofing
Flashing tape and pan flashing get installed in the correct shingle-style sequence — bottom, sides, then top — so that any water that does get behind the siding is directed back out rather than trapped against the framing. In a driving-rain environment like Dakota Creek's, this step matters more than almost anything else in the install.
Setting the Window
The window gets set plumb, level, and square, shimmed correctly so it isn't relying on the frame itself to hold its shape, and fastened per the manufacturer's schedule — which also protects the warranty.
Sealing and Finish
Exterior sealant goes down with attention to which surfaces should be sealed and which should be left as a drainage path — sealing every gap solid is actually a mistake, since a window needs somewhere for incidental moisture to escape. Interior trim and insulation around the frame finish the job.
Frame and Glass Options for a Marine Climate
There's no single "best" window material — the right choice depends on how much upkeep a homeowner wants to take on and how the house is built. Here's how the common options hold up specifically against salt air, rain, and moss exposure:
| Frame Material | Coastal Durability | Maintenance | Notes for Dakota Creek |
|---|---|---|---|
| Vinyl | Good — won't corrode or rot | Low | Solid value option; quality varies a lot between manufacturers, so hardware and weld quality matter |
| Fiberglass | Very good — dimensionally stable, resists moisture | Low | Handles temperature swings and moisture well; higher upfront cost |
| Wood | Fair — needs protection from moisture | High | Best appearance for some homes, but sustained dampness from moss season demands diligent upkeep |
| Wood-Clad (wood interior, metal/vinyl exterior) | Good on the exterior face | Moderate | Protects the exterior from weather while keeping a wood look inside; cladding seams still need attention |
| Aluminum | Fair — can corrode near salt air without proper coating | Moderate | Less common for residential installs here for this reason |
We'll walk through this table with the actual house in mind — south or west exposure, how sheltered the opening is, and how much maintenance the homeowner realistically wants to do — rather than defaulting to one product line for every job.
Our Process, Start to Finish
- Walkthrough and assessment — we look at each window opening, note existing damage, and talk through what the home actually needs.
- Honest recommendation — we'll tell you plainly if a window can be repaired instead of replaced, or if only some of the openings actually need work this year.
- Written estimate — clear scope, materials, and price before anything is scheduled.
- Opening prep — old window removal, inspection of the sheathing and framing, and repair of anything compromised before the new window goes in.
- Flashing and installation — done in the sequence that actually sheds water in this climate, not a generic shortcut.
- Trim and finish — interior and exterior finish work matched to the rest of the home.
- Walkthrough and cleanup — we review the finished work with you and clean up the site before we leave.
Why a Crew That Already Works Dakota Creek Matters
A window installer who mostly works drier, inland jobs will often build to a general standard and move on. A crew that regularly works Blaine's shoreline neighborhoods already knows which details can't be skipped here — the flashing sequence for wind-driven rain, which hardware holds up against salt air, and how much drying time to plan around during a wet stretch of the year. That familiarity isn't a marketing point; it shows up in fewer callbacks and windows that are still performing correctly five and ten years out, not just on install day.
It also means we're not guessing about how a given house was likely built. Older Whatcom County homes near the water were often finished with materials and techniques that predate current codes, and knowing what's commonly hiding behind the trim on a house of a certain age saves time and surprises once the opening is actually exposed.
Maintenance That Protects the Investment
A correctly installed window still needs some seasonal attention in this climate — it's a much shorter list than most homeowners expect, but skipping it shortens the window's life.
- Rinse salt residue off frames and glass periodically, especially after wind storms off the bay
- Keep gutters and downspouts clear so runoff isn't sheeting down across window heads
- Check and touch up exterior caulking annually, particularly on wood or wood-clad frames
- Remove moss or algae buildup from sills and surrounding trim before it holds moisture against the wood
- Operate each window a few times a season so weatherstripping and hardware don't seize up
- Watch for soft spots at the sill corners, which is usually the first place moisture damage shows
What Affects the Cost
Every job is different, but the main cost drivers for a Dakota Creek window install are consistent: the frame material chosen, whether the opening needs repair before the new window goes in, the number and size of windows, and access — some coastal lots have tighter site access than others. Repairing rotted framing discovered during the removal is the most common reason a quote changes mid-project, which is exactly why we inspect before quoting whatever we can and flag anything uncertain up front rather than after the fact.
If you're weighing whether to repair or replace, or just want a straight answer on what your windows actually need, we're happy to take a look. Reach out for a free, no-pressure estimate using the form below.