 Blaine Siding
 Windows Built for the California Creek Climate
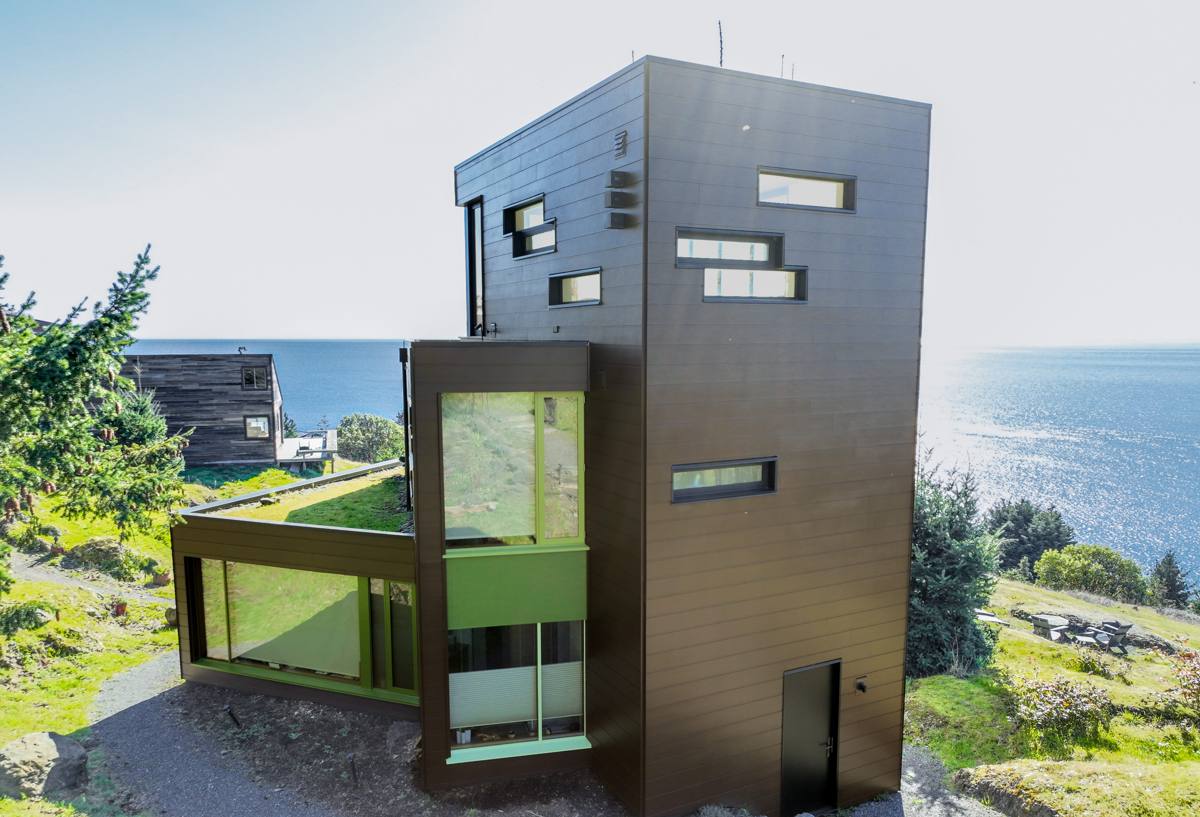
California Creek homes sit close enough to the water that salt air is part of daily life, not an occasional nuisance. Add Whatcom County's driving winter rain and a moss season that can stretch for months, and you have one of the tougher environments in the Pacific Northwest for a window to survive in. Windows here don't fail because they're old in the calendar sense — they fail because moisture found a way in and nobody caught it early enough. Installing a window correctly the first time matters more in this neighborhood than almost anywhere else we work.
This page covers window installation specifically for California Creek properties: what the climate does to windows over time, what a correct installation actually involves, how we approach the work, and what to look for in a crew before you hire one.
What Salt Air, Rain, and Moss Actually Do to Windows
Salt air and metal fatigue
Salt-laden air corrodes aluminum hardware, screws, and cladding fasteners faster than inland air does. Once corrosion starts on a window's moving parts — hinges, balances, lock mechanisms — the window gets harder to operate, and a window that's hard to close properly is a window that doesn't seal properly. Vinyl and fiberglass frames resist this better than bare aluminum, which is one reason we steer California Creek homeowners away from uncladded aluminum frames unless there's a strong architectural reason to use them.
Driving rain and wind-driven water
Blaine's storms don't just fall straight down — wind pushes rain sideways into wall assemblies, testing every seam around a window opening. A window that's watertight in a still, dry showroom can still leak under wind-driven rain if the flashing, sill pan, and sealant weren't installed to shed water outward at every layer. This is almost always an installation issue, not a product defect — the window itself is rarely the problem.
Moss, algae, and prolonged dampness
Whatcom County's moss season means wood trim, sills, and even vinyl tracks stay damp for extended stretches, especially on north- and west-facing walls that don't get much sun to dry them out. Prolonged dampness around a window opening is what turns a small sealant gap into rotten sheathing. Homes in California Creek with tree cover or shaded exposures see this more than open, sun-exposed lots.
Signs a California Creek Home Needs Window Attention
Because failure here is gradual and moisture-driven, most homeowners don't notice a problem until it's already inside the wall. Watch for these signs:
- Fogging or a permanent haze between the panes of a double-pane window — the seal has failed and moisture is trapped inside the glass unit
- Soft or discolored trim, sill, or drywall directly below or beside a window
- Windows that are noticeably harder to open, close, or lock than they used to be
- Visible moss or dark staining creeping onto the frame or sill, not just nearby siding
- A draft you can feel with your hand along the frame edge on a windy day
- Paint or finish bubbling or peeling on wood-framed windows, especially on the exterior sill
- A noticeable rise in heating costs without any other explanation
Any one of these on its own isn't an emergency. Several together, especially near the same window, usually means water has already gotten past the exterior finish and is working on the framing underneath.
What a Correct Window Installation Actually Involves
Removing and inspecting the opening
We don't just pull the old window and drop in a new one. Once the opening is exposed, we check the sheathing, framing, and sill for soft spots or hidden rot — common enough near the water that we treat every opening as a possible surprise until we've looked. Any damaged wood gets replaced before a new window goes in. Installing a new window over compromised framing just hides the problem for a few more years.
Sill pan and flashing
The sill pan is the single most important detail in a coastal window installation. It creates a sloped, waterproof pocket at the bottom of the opening so that any water that does get past the window — and eventually, some always will — drains back outside instead of soaking into the wall. Flashing tape and housewrap integration around the sides and top follow a specific shingle-lap order so water is always directed outward and downward, never trapped behind a layer that can't drain.
Setting the window plumb, level, and square
A window that's out of square binds and won't seal evenly, even if every other step is done right. We shim and fasten to the frame manufacturer's specifications, checking plumb and level at multiple points rather than just the corners.
Sealing and insulating the gap
The gap between the window frame and the rough opening gets filled with low-expansion foam or backer rod and sealant — never packed tight with standard spray foam, which can bow the frame and cause the sash to stick. Exterior sealant joints are tooled, not just squeezed from the tube, so they actually shed water instead of holding it against the frame.
Interior and exterior finish work
Trim, casing, and any siding or stucco patching around the new window gets finished to match the surrounding wall, with attention to keeping the final caulk joints in the right places rather than caulking over gaps that should have been flashed instead.
Choosing the Right Window Material for California Creek
There's no single "best" window for every home, but some materials handle salt air and sustained damp better than others. Here's how the common options compare for a property like this:
| Frame Material | Salt Air Resistance | Maintenance | Typical Fit for California Creek |
|---|---|---|---|
| Vinyl | Very good — won't corrode or rust | Low — occasional cleaning | Solid default choice for most homes, especially closer to the water |
| Fiberglass | Excellent — very stable in temperature swings and moisture | Low | Strong option where you want a slimmer profile or a painted finish |
| Wood, unclad | Poor without diligent upkeep | High — regular refinishing needed | Best reserved for interiors or covered exposures, not exposed coastal walls |
| Wood, aluminum- or fiberglass-clad | Good on the exterior face | Moderate — interior wood still needs care | Workable where a wood interior look is wanted, if detailing is careful |
| Bare aluminum | Poor — prone to corrosion and condensation | Moderate to high | Generally not recommended for this climate |
Glass package matters as much as frame material here. Double-pane with a low-E coating and an argon fill is the practical baseline for this climate; it cuts down on condensation on the interior glass during cold, damp stretches, which is a common complaint in homes near the water.
Our Installation Process
- On-site assessment — we look at existing windows, wall assemblies, and any signs of past water intrusion before recommending anything
- Product selection — we walk through frame material, glass package, and style options suited to the specific exposure of your home
- Opening prep — old windows come out, framing is inspected and repaired as needed
- Sill pan, flashing, and window set — installed in the sequence that keeps water moving outward, not trapped
- Sealing and insulating — gap filled correctly, exterior joints tooled to shed water
- Finish work — interior and exterior trim completed to match the home
- Final walkthrough — every window opened, closed, and checked with you before we consider the job done
Why Local Experience in California Creek Matters
A crew that only occasionally works this close to the water can install a window that looks fine and still leaks within a few winters, because the failure points in a coastal installation aren't obvious to someone used to drier, inland conditions. Working regularly in and around Blaine means we already know which details — sill pan slope, flashing sequence, fastener choice — need extra attention on a property exposed to salt air and driving rain, instead of learning it the hard way on your house. It also means we're not guessing at how Whatcom County's building requirements apply to a window replacement or new opening; we handle that as a normal part of the job.
We also know the difference between a home that's fully exposed to wind off the water and one that's more sheltered by trees or terrain, and we adjust product recommendations and installation details accordingly rather than treating every job the same way.
Cost Factors Worth Understanding
Window installation pricing depends on more than the window itself. The main variables we walk through with California Creek homeowners are:
- Frame material and glass package — vinyl is typically the most economical, fiberglass and clad-wood cost more
- Condition of the existing opening — hidden rot or framing damage adds repair time before the new window can go in
- Number and size of windows — larger openings and specialty shapes cost more to fabricate and install
- New construction vs. replacement — replacement work into an existing opening is usually less invasive than resizing an opening
- Exterior finish involved — siding or trim repair around the opening adds to the scope
We'll give you a straightforward, itemized estimate rather than a single lump number, so you can see exactly what you're paying for.
Get a Free Estimate for Your California Creek Home
If you're dealing with a window that's fogging, sticking, drafting, or showing signs of moisture damage — or you're simply planning ahead before another wet Whatcom County winter — we're happy to take a look. Use the form below to request a free, no-pressure estimate, and we'll walk your home's specific exposure and give you an honest recommendation.