 Blaine Siding
 Siding Installation in California Creek: A Job Suited to This Corner of Whatcom County
California Creek sits in the low-lying, mixed rural and residential country just outside Blaine, close enough to the tidal water and wetlands that drain toward Semiahmoo Bay and Drayton Harbor that the air rarely feels fully dry, even on a clear day. Properties out here tend to be a mix of open pasture, wooded lots, and homes tucked under mature tree cover along the creek corridor, which gives siding a very different set of conditions to deal with than a house on a tight in-town lot. Between the marine-influenced air, the wind that moves unobstructed across open fields, and shade that keeps north-facing walls damp for long stretches, siding installation in California Creek has to be planned around this specific microclimate rather than treated as a generic Whatcom County job.
We install siding throughout this stretch of the county, and California Creek is regular territory for our crew. On siding, we install James Hardie fiber cement exclusively — not vinyl, not LP SmartSide, not Cemplank, not Allura, not primed spruce or cedar. That's a professional standard shaped by what we've seen hold up out here and what hasn't, and this page walks through what that means specifically for a siding installation project on a California Creek property.
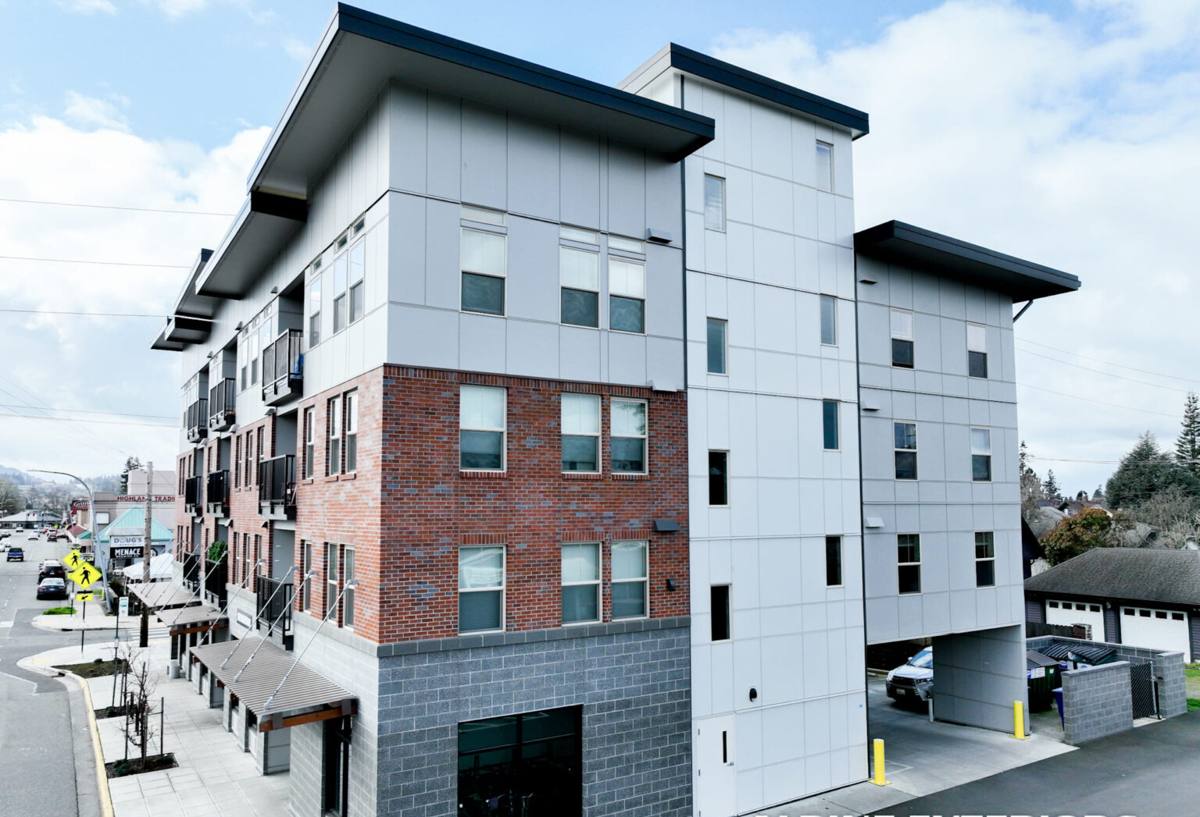
What California Creek's Climate Demands From Siding
Salt Air Off Nearby Tidal Water
Properties near the creek and the wetlands it feeds are close enough to Semiahmoo Bay and Drayton Harbor to pick up salt-laden marine air on a regular basis, even without a direct water view. Salt accelerates corrosion on fasteners, flashing, and any exposed metal trim, and it breaks down lower-quality paint and coatings faster than a drier inland climate ever would. On a siding installation, that means fastener choice and finish quality aren't cosmetic details — they're the parts of the job that determine whether the siding still looks and performs the way it should in ten years.
Driving, Wind-Pushed Rain
Open pasture and fewer windbreaks around parts of California Creek mean storms coming off the water don't lose much force before they reach a house. Rain gets pushed sideways into wall assemblies, window and door flashing, and every seam in the siding, rather than simply falling straight down. That wind-driven pattern is harder on an installation than the same total rainfall would be in a sheltered spot, and it's exactly the kind of moisture load that finds any gap a rushed or corner-cutting installation leaves behind.
A Long Moss Season on Shaded, Low-Lying Lots
Mild temperatures, low elevation near the creek, and heavier tree cover on a lot of California Creek properties add up to a moss and mildew season that can run most of the year on shaded or north-facing siding. Any material with even a little surface porosity becomes a growth surface if it stays damp long enough, and low-lying ground near a creek drains and dries more slowly than higher, more open terrain elsewhere in the county. That's a real factor in both which siding material goes up and how it's detailed at the bottom edge, where it's closest to the ground and vegetation.
What a Correct Siding Installation Actually Involves
Siding performs the way it's supposed to only when the installation gets a handful of details right, and in a damp, shaded environment like California Creek, those details matter more than they would on a dry, open, sun-exposed lot. None of this is exotic — it's the manufacturer's own specification, followed consistently rather than shortcut on the parts that are hard to see once the job is finished.
- Rain screen gap: A drainage cavity behind the siding lets any moisture that does get past the exterior surface drain and evaporate instead of sitting against the wall sheathing, which matters more on shaded, slow-drying walls.
- Correct fastener type and spacing: Hardie specifies fastener placement and corrosion-resistant fastener types for a reason — loose spacing or the wrong fastener is one of the more common causes of early siding failure we find on tear-offs, and salt-influenced air makes fastener quality even more important.
- Properly lapped house wrap and flashing: Every seam, window opening, and penetration needs to shed water downward and outward, especially on walls that catch wind-driven rain across open ground.
- Sealed butt joints and trim transitions: Open or poorly sealed joints are where moisture finds its way behind the siding first, and on a lot with heavier shade, that moisture doesn't dry out quickly once it's in.
- Correct clearance from grade and vegetation: Siding installed too close to the ground, mulch beds, or dense landscaping stays damp longer and gives moss and mildew an easier foothold — a real consideration on lower-lying creek-adjacent lots.
Why We Only Install James Hardie Fiber Cement
We used to work with a wider range of siding products. We stopped, and the reason came from what we kept finding on tear-offs and service calls in damp, shaded, marine-influenced spots like California Creek — not from a supplier deal or a marketing angle.
- Non-combustible core: Fiber cement doesn't feed a fire the way wood-based siding products can, which matters for both safety and insurance considerations.
- Factory-applied ColorPlus finish: The color is baked on under controlled factory conditions rather than brushed on in the field, so it holds its finish longer against fading, chalking, and moisture exposure than a field-applied coating.
- Climate-engineered HZ product lines: Hardie's HZ5 formulation is built for regions with sustained moisture and freeze-thaw cycling, which describes this part of Whatcom County well.
- Dimensional stability: Fiber cement doesn't swell, cup, or warp the way engineered wood products can after repeated exposure to a wet, shaded environment.
- Strong transferable warranty: Hardie backs the product with one of the stronger warranty structures in the industry, provided the installation follows their spec.
Each of the products we don't install has a place in the market and homeowners who are happy with them elsewhere. But on a shaded, low-lying, moisture-heavy site like a lot of California Creek properties, we've made a professional call to install one system we fully stand behind rather than offer something that quietly shifts maintenance risk onto the homeowner over time.
Our Siding Installation Process, Start to Finish
A siding installation on a California Creek property generally moves through the same sequence, though the specifics get adjusted for how much shade, tree cover, and wind exposure a given lot actually has.
- On-site assessment: We walk the property, check existing siding and substrate condition, and note shade patterns, drainage, and grade clearance specific to that lot.
- Tear-off and substrate check: Old siding comes off and the wall sheathing gets inspected for hidden moisture damage before anything new goes up — this step is where a lot of real problems get found on older homes.
- Weather-resistive barrier and flashing: A properly lapped house wrap and correctly detailed flashing at every window, door, and penetration go on before the siding does, since this layer does most of the actual water-shedding work.
- Rain screen and siding installation: Furring or a manufactured rain screen product creates the drainage gap, then Hardie panels or lap siding go up with correct fastener spacing and type.
- Trim, joints, and detail work: Butt joints, corners, and trim transitions get sealed correctly, with extra attention to low-clearance areas near grade and vegetation.
- Final walkthrough: We go over the finished installation with the homeowner and confirm everything meets both Hardie's spec and our own standard before calling the job done.
New Construction Siding vs. Re-Siding an Existing Home
| Factor | New Construction | Re-Siding an Existing Home |
|---|---|---|
| Substrate condition | Known, built to current code | Unknown until old siding comes off — may need repair |
| Timeline | Sequenced with other trades on a build schedule | Standalone project, weather-dependent scheduling |
| Moisture risk during install | Lower, since the wall is freshly built and dry | Higher if hidden moisture damage is found and needs repair first |
| Design flexibility | Siding profile and trim planned alongside the whole exterior | Often matched to existing rooflines, trim, and window placement |
Both scenarios are common in California Creek, from newer builds on larger lots to older homes that have been through a few decades of this climate already. The core installation standards — rain screen, correct flashing, proper fastening — don't change between the two, but a re-siding project usually needs more time budgeted for what gets found once the old siding is off.
Signs a California Creek Home Needs New Siding
- Moss or dark staining that returns quickly after cleaning, especially on shaded or north-facing walls
- Soft, spongy, or visibly warped siding, particularly low on the wall or near grade
- Peeling, bubbling, or chalking paint that keeps recurring faster than a normal repaint cycle
- Visible gaps, cracked caulk, or open joints between siding panels or at trim transitions
- Rust staining around fasteners or trim, more common this close to marine air
- Rising energy bills that suggest the wall assembly isn't holding conditioned air the way it should
What Drives Siding Installation Cost in California Creek
| Cost Factor | Why It Matters |
|---|---|
| Home size and wall complexity | More square footage and more corners, gables, and trim detail mean more material and labor time |
| Tear-off vs. new construction | Removing and disposing of old siding, plus any substrate repair, adds time a new-build install doesn't have |
| Substrate repair needed | Hidden moisture damage found during tear-off, more likely on older homes in this damp environment, has to be fixed before new siding goes on |
| Access and site conditions | Shaded, wooded, or low-lying lots can affect equipment access and drying time between install stages |
| Trim and detail level | Custom trim, multiple siding profiles, or extensive window and door detailing add labor beyond a simple flat-wall install |
These are general drivers, not a quote. Every California Creek property sits at a slightly different distance from open water, under different tree cover, and on different terrain, so we walk the site before putting a real number on the work — a proper estimate depends on what we actually find, not a phone conversation.
A Quick Checklist Before Hiring for Siding Installation
- Confirm current Washington contractor licensing and active liability insurance
- Ask what siding product they install and why, not just what it costs
- Ask specifically how they handle rain screen detailing and fastener spacing, not just the visible finish
- Get a written scope that separates material warranty from installation warranty
- Ask how they handle unexpected substrate damage found once old siding comes off
Why a Crew That Already Works California Creek Matters
A crew that installs siding across this part of Whatcom County regularly already knows how shade, low-lying drainage, and wind across open ground behave differently on a California Creek lot than they do on a tighter, more sheltered in-town property. That familiarity shows up in practical decisions made on install day — where extra flashing attention pays off, which walls need more clearance from grade, and which fastener grade is worth the extra time — rather than a one-size-fits-all approach applied the same way on every job regardless of site conditions.
If your California Creek home needs new siding, or you're not sure whether what you have now is holding up the way it should, we're glad to take a look and give you a straightforward, honest assessment. Reach out using the form below to schedule a free, no-pressure estimate.