 Blaine Siding
 Roof Repair Built for the Nooksack Area's Weather
Homes around Nooksack sit in one of the wetter corners of Whatcom County, and the roof is the first thing that has to answer for it. Between salt-laden air moving in off the water, long stretches of driving rain, and a moss season that can run most of the year in shaded spots, a roof out here works harder than one in a drier inland climate. When repairs are done right, that work shows up as decades of quiet performance. When they're done wrong, or skipped, it shows up as stained ceilings and rotted sheathing a few years down the road.
This page is about one thing: roof repair for homes in and around Nooksack. Not a full re-roof, not general contracting — the specific work of finding what's actually wrong with an existing roof and fixing it correctly, in a way that holds up to this region's conditions.
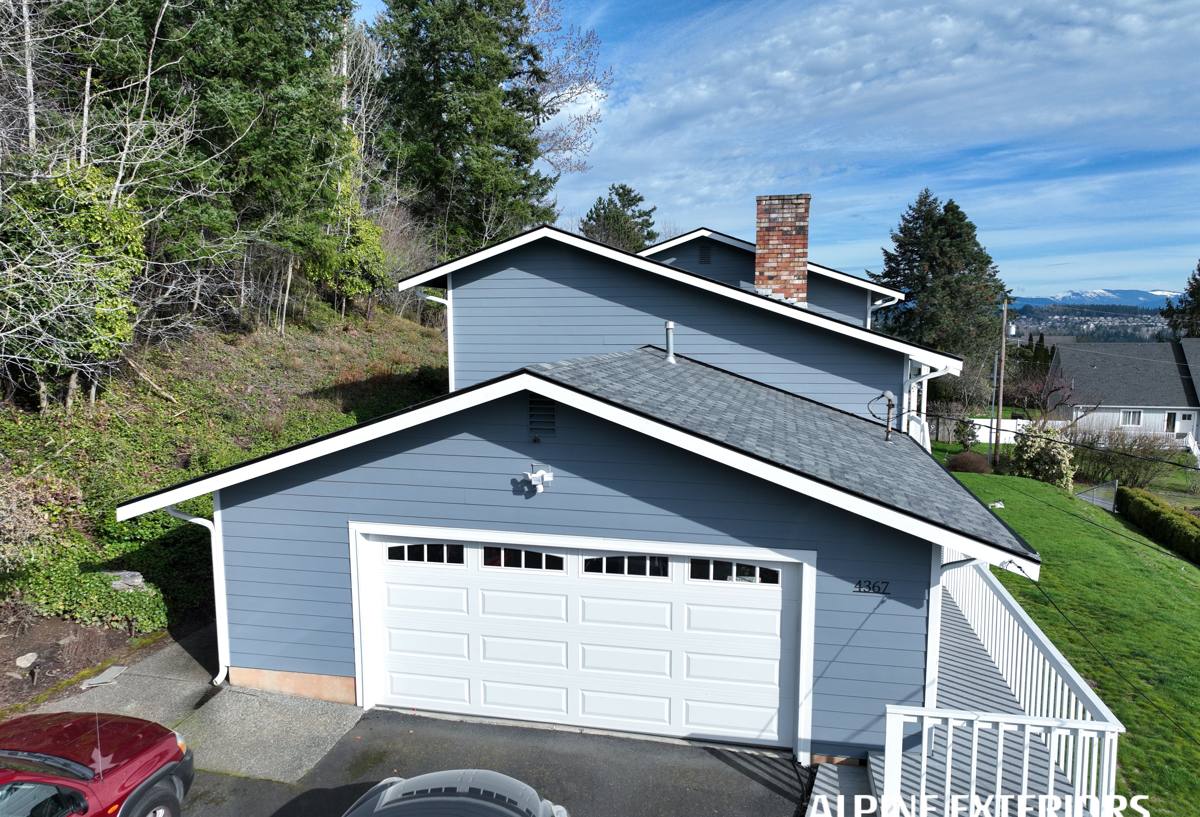
What Nooksack's Climate Actually Does to a Roof
Moisture Is the Constant Enemy
Whatcom County doesn't get the heaviest rainfall in the state, but it gets frequent, sustained, wind-driven rain — the kind that doesn't just fall straight down, it gets pushed sideways under shingle tabs, into exposed nail heads, and along flashing edges that have started to lift. A roof here needs every seam, lap, and penetration sealed correctly the first time, because there's rarely a long dry stretch to let a marginal repair "catch up."
Moss and Organic Growth
Shaded roof sections, north-facing slopes, and areas under overhanging trees stay damp long enough for moss and algae to take hold. Moss isn't just cosmetic — it holds water against the roofing material, works its way under shingle edges as it grows, and can lift tabs enough to create a leak path that wasn't there originally. Roofs with moss problems need it addressed as part of the repair, not just patched around.
Salt Air and Metal Components
Proximity to the water means salt-laden air reaches roofs, flashing, fasteners, and gutter systems throughout the area. Salt exposure accelerates corrosion on lower-grade metal flashing, exposed fasteners, and vent components. It's a slow process, but it's a real one, and it's a factor we account for when specifying repair materials rather than just matching whatever is already up there.
The Most Common Repairs We See on Nooksack Roofs
| Issue | What Causes It | Typical Fix |
|---|---|---|
| Flashing leaks (chimneys, walls, skylights) | Sealant failure, corrosion, or original flashing installed too thin for the exposure | Remove and reflash with correct-gauge material and proper step/counter-flashing technique |
| Moss-related shingle lift | Sustained moisture retention on shaded slopes | Careful moss removal, treatment, and replacement of any shingles damaged underneath |
| Valley leaks | Debris buildup or undersized valley flashing overwhelmed by heavy rain volume | Clear debris, inspect underlayment, replace valley metal if undersized or corroded |
| Nail pops and cracked shingles | Wind-driven rain finding a path through minor mechanical damage | Localized shingle replacement with matched material where possible |
| Rotted sheathing at penetrations | A slow leak that went unnoticed for a season or more | Cut back to sound wood, replace sheathing, then repair the roofing over it correctly |
| Gutter and edge metal corrosion | Salt air exposure on lower-quality or aging metal | Replace with corrosion-resistant material rated for coastal exposure |
What a Correct Roof Repair Actually Involves
A repair that lasts starts before anyone touches a shingle. It starts with figuring out what's actually wrong — not just where the ceiling stain is, but where the water is entering, which is often several feet away from where it shows up inside.
1. Find the Real Source, Not Just the Symptom
Water travels along rafters, sheathing, and framing before it drips somewhere visible. A repair aimed at the visible stain instead of the actual entry point can look successful for a season and then fail again. This is the step that separates a repair that solves the problem from one that just moves it.
2. Check What's Underneath
Any time there's evidence of an active or past leak, the sheathing and underlayment around it need to be checked, not assumed to be fine. Soft, delaminating, or discolored sheathing has to be cut out and replaced — patching roofing material over compromised wood underneath is a repair that's guaranteed to need redoing.
3. Match Materials and Technique to the Exposure
Given the salt air and rain load in this area, we don't default to the thinnest or cheapest flashing and fastener options just because they're what's already installed. Where it makes sense, we upgrade to more corrosion-resistant flashing and fasteners on the sections being repaired — not because the original materials were necessarily bad, but because a repair is a good opportunity to improve durability in the spots most exposed to weather.
4. Address Moss and Drainage While We're There
If moss or poor drainage contributed to the problem, a repair that doesn't deal with that root cause is likely to develop the same failure again in the same spot. We treat this as part of the job, not a separate upsell.
Repair vs. Replacement: How We Help You Decide
Not every roof problem calls for a full re-roof, and not every roof is a good candidate for another repair. We give homeowners a straight answer based on a few practical factors:
- Age of the roofing material relative to its expected service life — a well-maintained roof near the end of its lifespan may not be worth another round of spot repairs.
- How many separate problem areas exist — one isolated leak is a repair; five unrelated failure points across the roof is usually a sign the whole system is aging out.
- Condition of the decking — widespread sheathing damage found during a repair can shift the math toward replacement.
- Granule loss and shingle brittleness — shingles that crack when lifted for a repair often indicate the surrounding material won't tolerate future repair work either.
- Your timeline — a repair can buy time before a planned replacement if that's what makes sense for your budget and plans.
We'll tell you honestly if a repair is the right call, or if you're better off putting that money toward a replacement instead. A patch that's likely to fail again within a year or two isn't a good use of anyone's money.
Our Process for a Nooksack-Area Roof Repair
- Inspection. We get on the roof (weather permitting) and in the attic space if accessible, tracing the actual water path rather than guessing from ground level.
- Honest assessment. We explain what we found, what's causing it, and whether repair or replacement makes more sense — in plain language, with photos of the actual damage where we can get them.
- Written scope and estimate. You know exactly what work is being done and roughly what it will cost before anything starts.
- The repair itself. Proper tear-back to sound material, correct flashing and fastening technique, and matching materials as closely as reasonably possible.
- Final check. We walk the repair with you, confirm drainage and flashing laps are correct, and make sure the area is cleaned up.
Why It Matters to Hire a Crew That Already Works in This Area
Roof repair technique isn't one-size-fits-all across the country. A crew used to working in a dry, low-wind climate will make different assumptions about flashing laps, underlayment coverage, and fastener spacing than a crew that repairs roofs in Whatcom County's wind-driven rain and salt air every week. Knowing how moss actually behaves on a shaded Nooksack-area roof, or how quickly unprotected metal corrodes this close to the water, isn't something you learn from a manual — it's something you learn from doing the work here, repeatedly, and seeing which repairs hold up and which ones come back.
That local experience shows up in small decisions during a repair: how far back to pull shingles before a flashing replacement, which fastener and flashing materials are worth the upgrade given the exposure, and where a "quick patch" isn't actually going to hold through the next wet season. Those are the decisions that determine whether a repair lasts five years or fifteen.
A Practical Pre-Repair Checklist for Homeowners
- Note when and where you first noticed a stain, drip, or damp spot — timing helps narrow down the likely cause.
- Check your attic (if accessible) for daylight, dark staining, or damp insulation near the affected area.
- Look for visible moss buildup, especially on north-facing or tree-shaded sections of the roof.
- Check gutters and downspouts for debris that could be backing water up under the roof edge.
- Avoid climbing onto the roof yourself to inspect or "fix" it — wet moss-covered roofing is genuinely dangerous underfoot.
- Get it looked at before the next heavy rain event if you can — a small, contained leak is far less costly to repair than one that's had a chance to spread into the sheathing and framing.
Get an Honest Look at Your Roof
If you're dealing with a leak, staining, missing shingles, or a mossy roof you'd like inspected before it becomes a bigger problem, we're happy to take a look and give you a straight answer about what it needs. Request a free, no-pressure estimate using the form below, and we'll walk you through exactly what we find and what it would take to fix it right.